Fun with Flowers (Pt. 1)
Black and White
In the 2nd of my lockdown mini-series, I thought it would be nice to have some fun with flowers. In this article I've chosen tulips but feel free to experiment on flowers or plants you have around your home or garden - or why not treat yourself to a bouquet the next time you go shopping?
I have used my lovely (and cheap) Samyang 100mm macro lens with all the images featured here but don't worry if you haven't got a macro lens - any lens around 100mm focal length (35mm equivalent) will do. It's essential to have a clean background using stiff card or cloth (black, white and colour) to avoid distractions. You can purchase these from any online arts and crafts shop as well as some stationers (12" square is the most common, but the subject's size will dictate your needs).
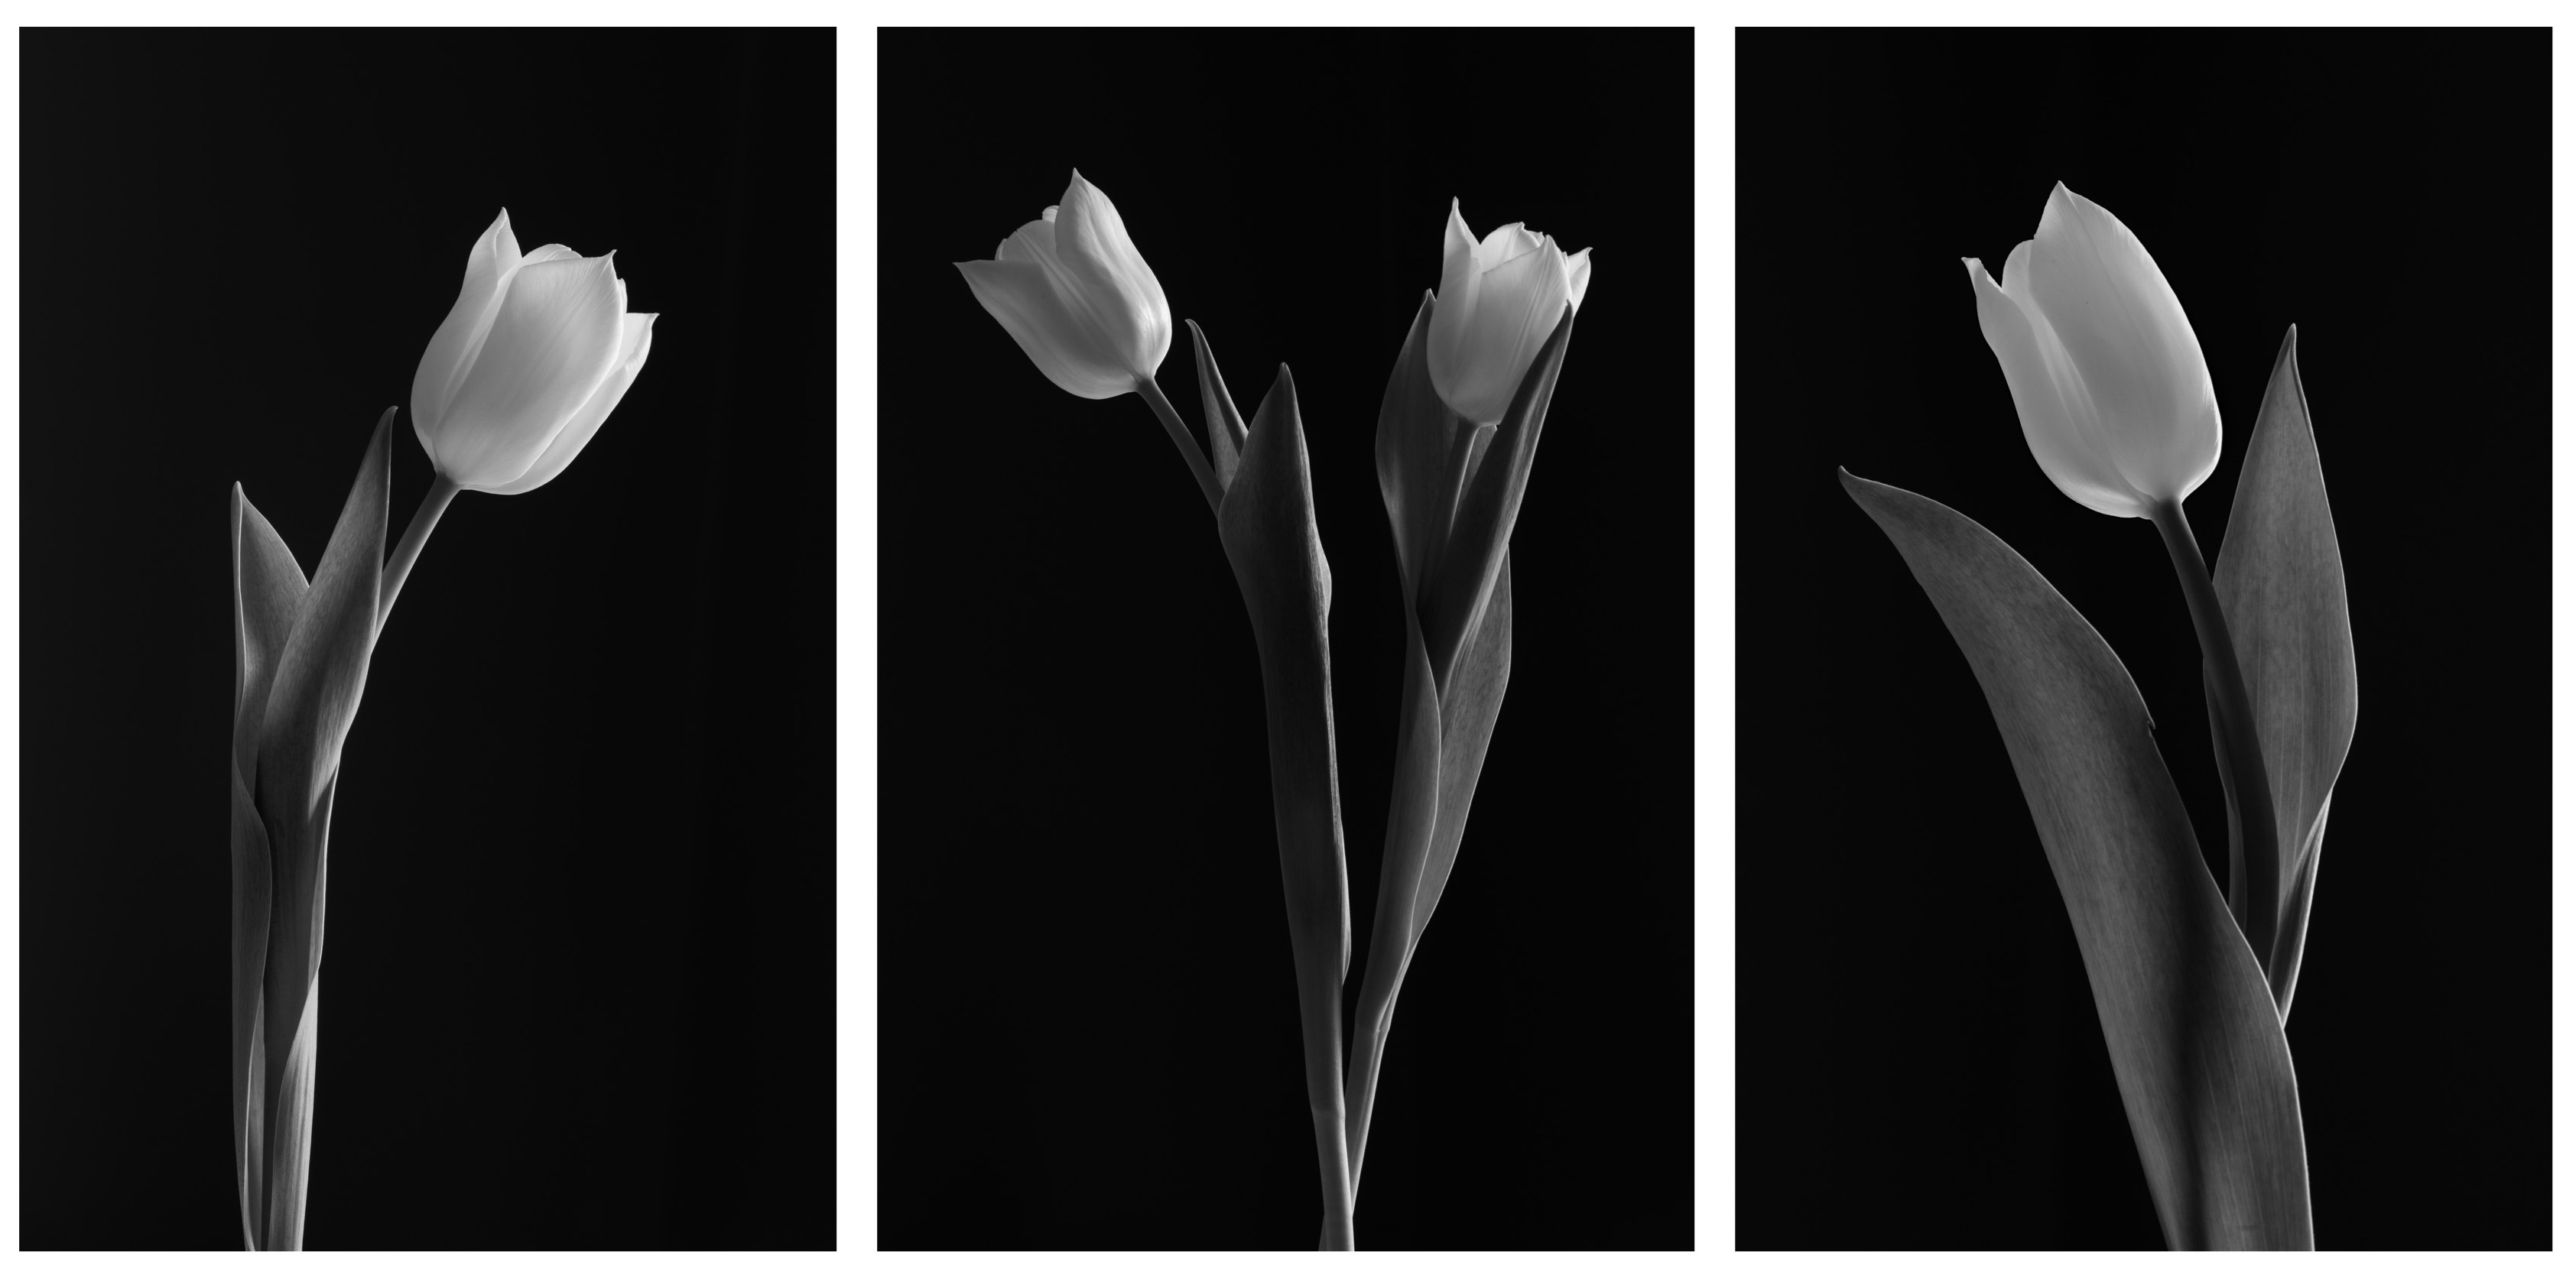
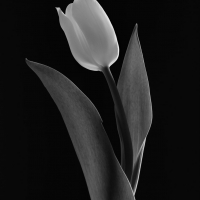
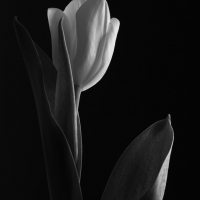
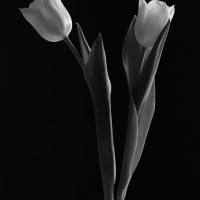
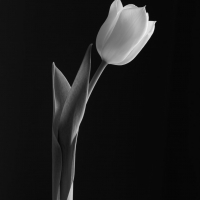
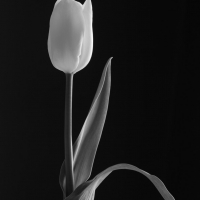
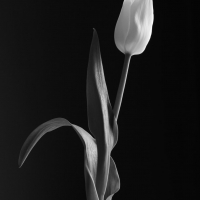
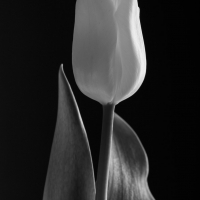
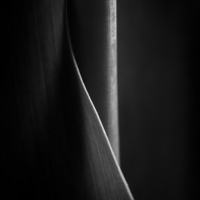
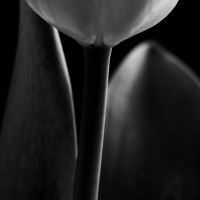
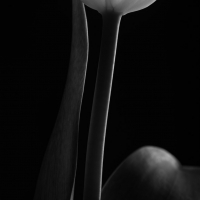
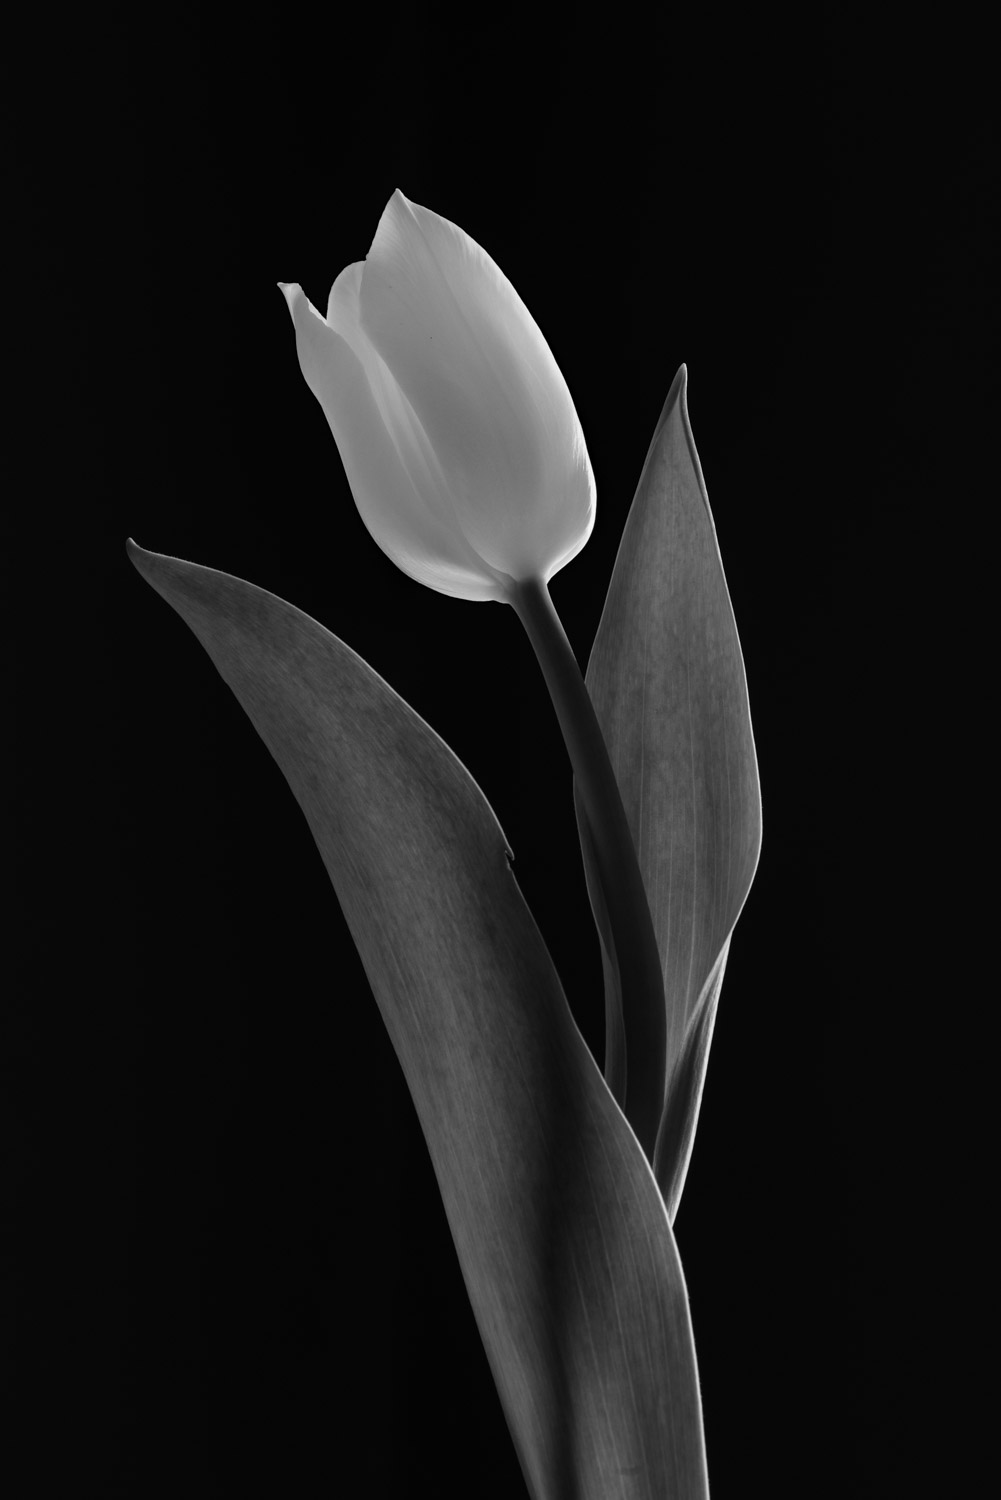
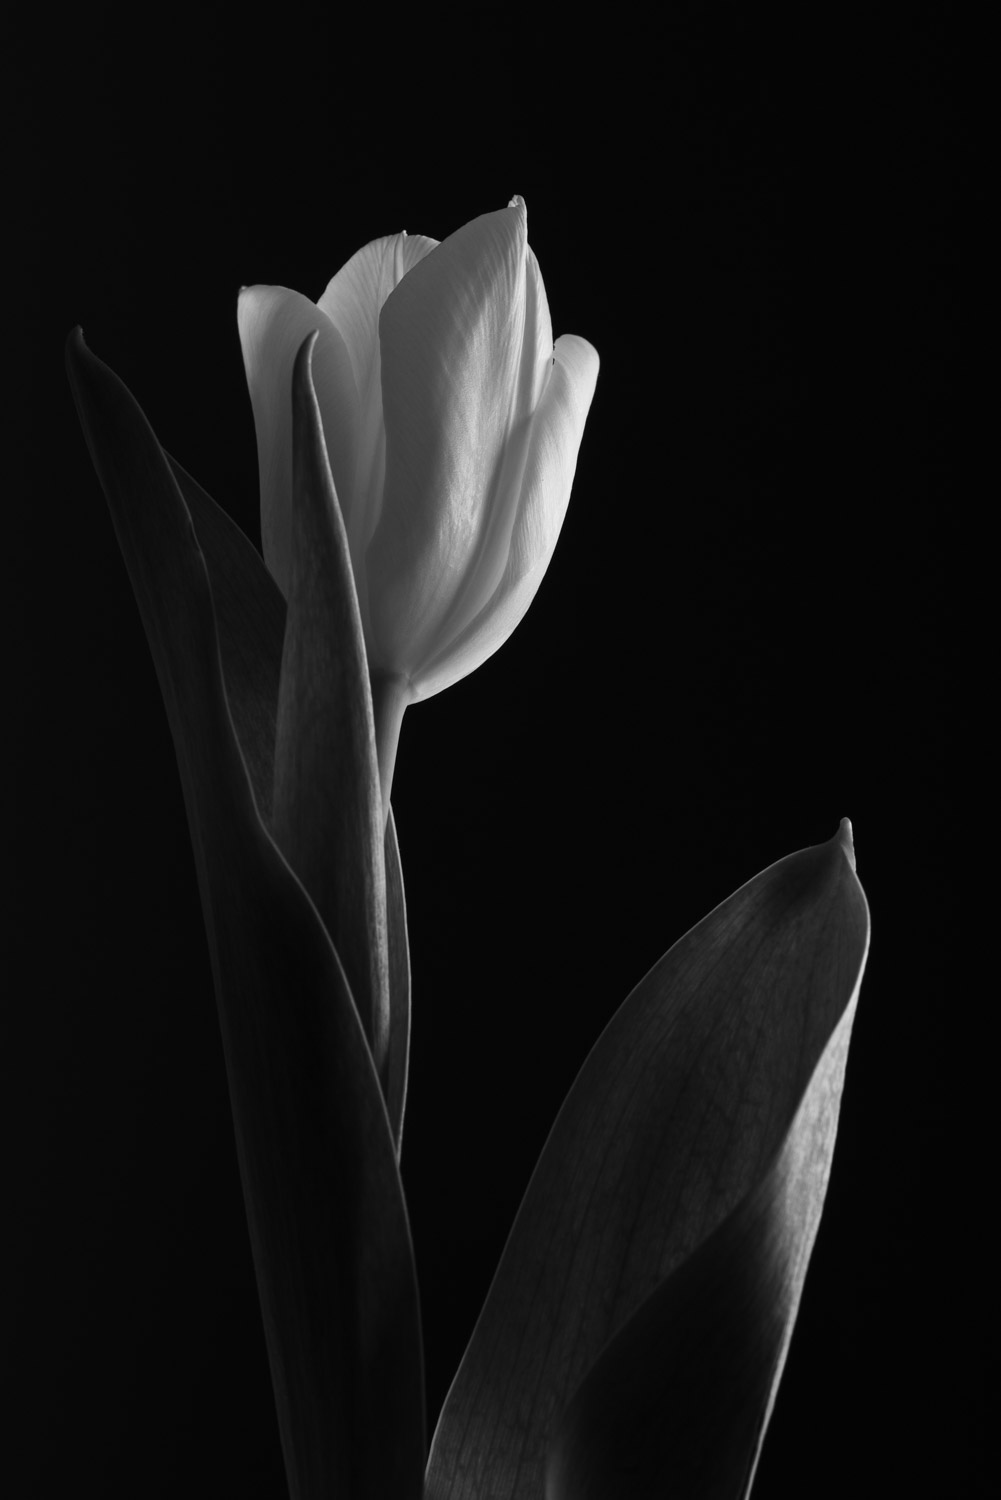
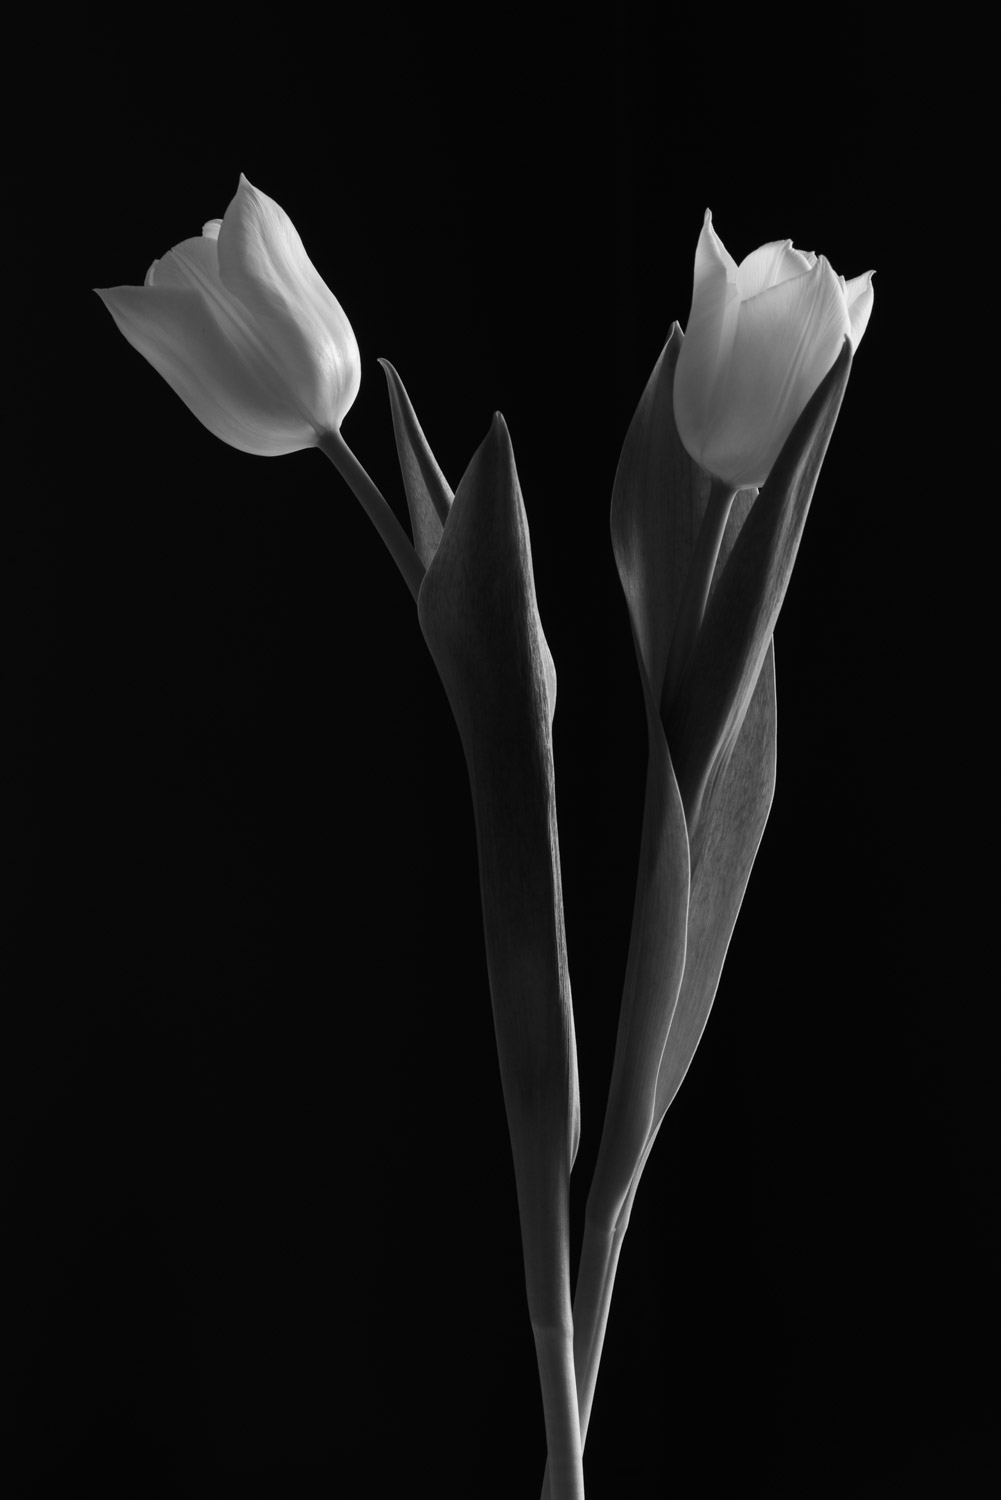
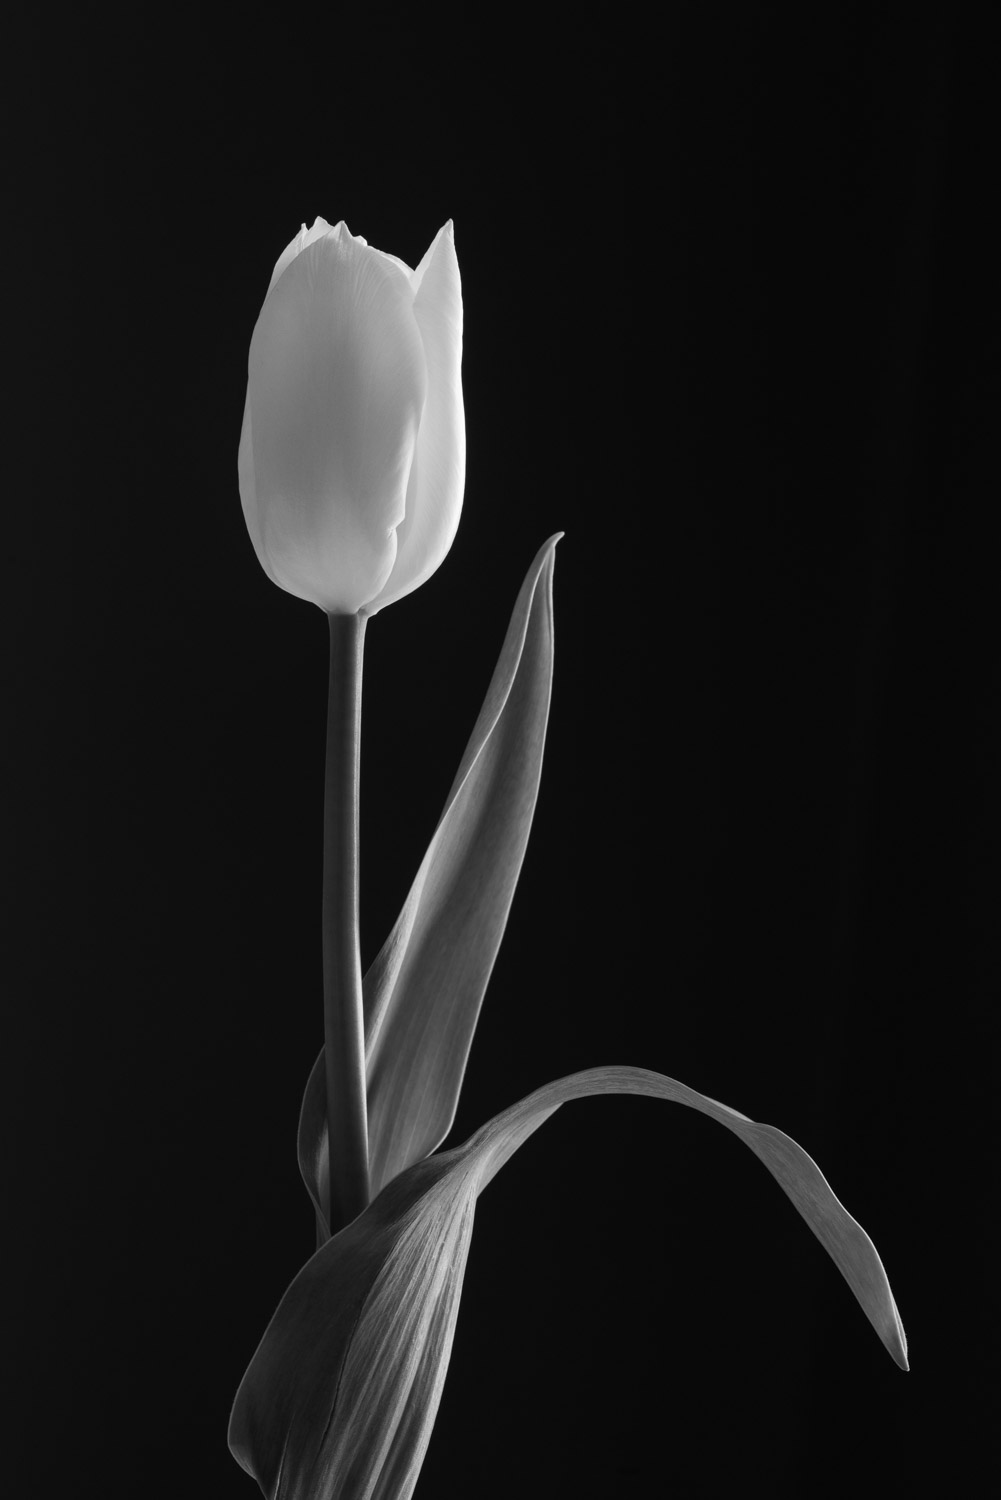
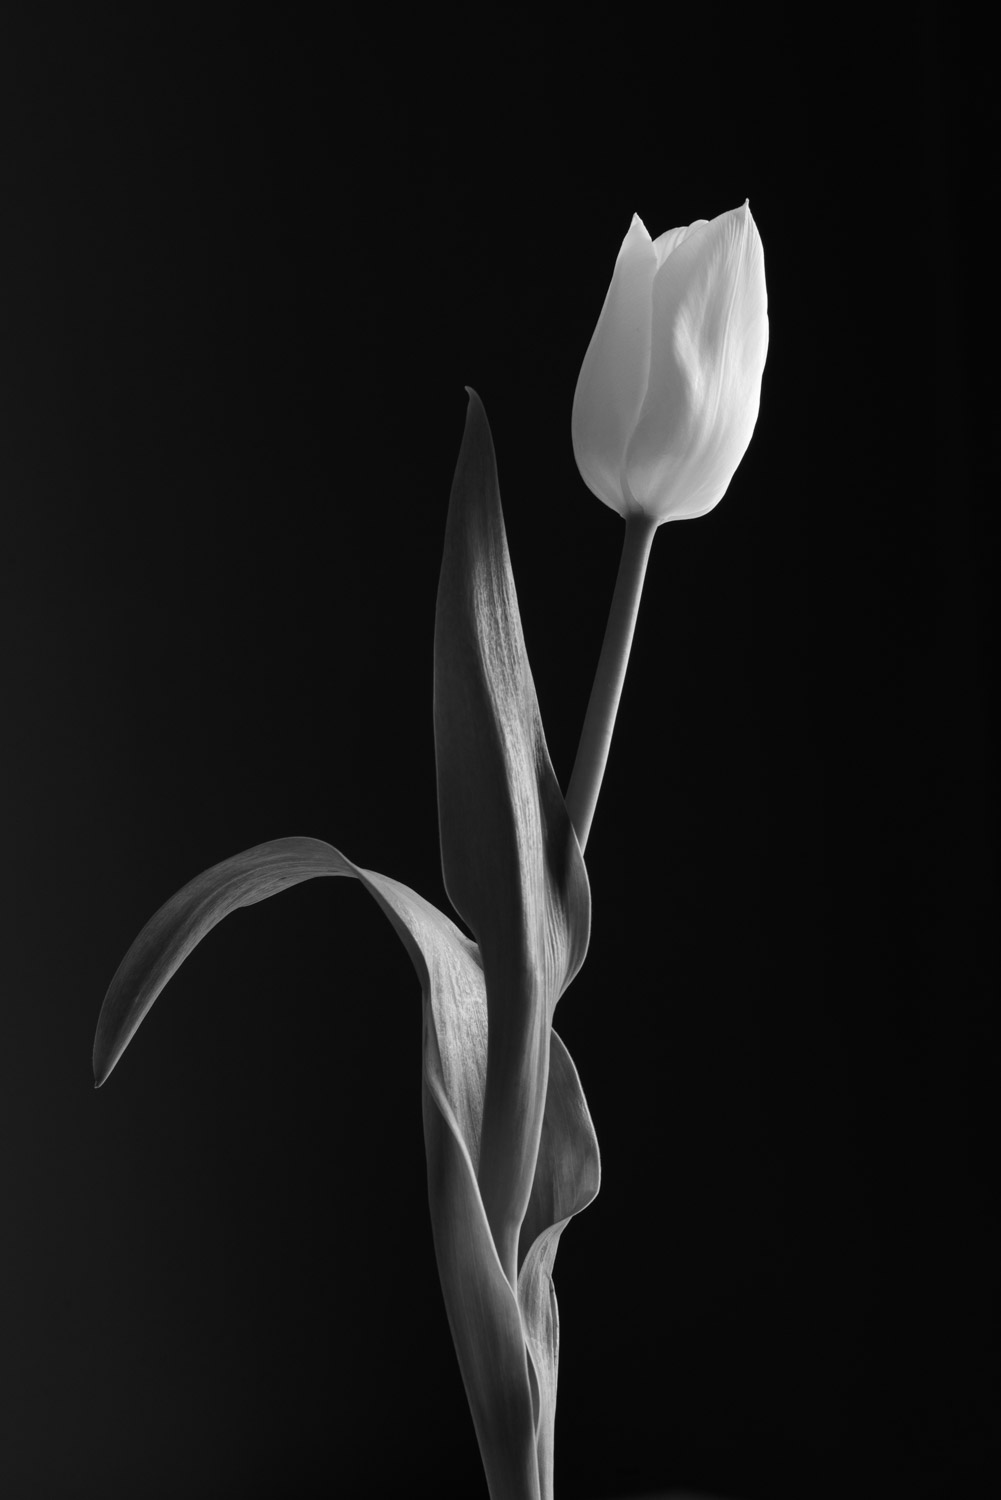
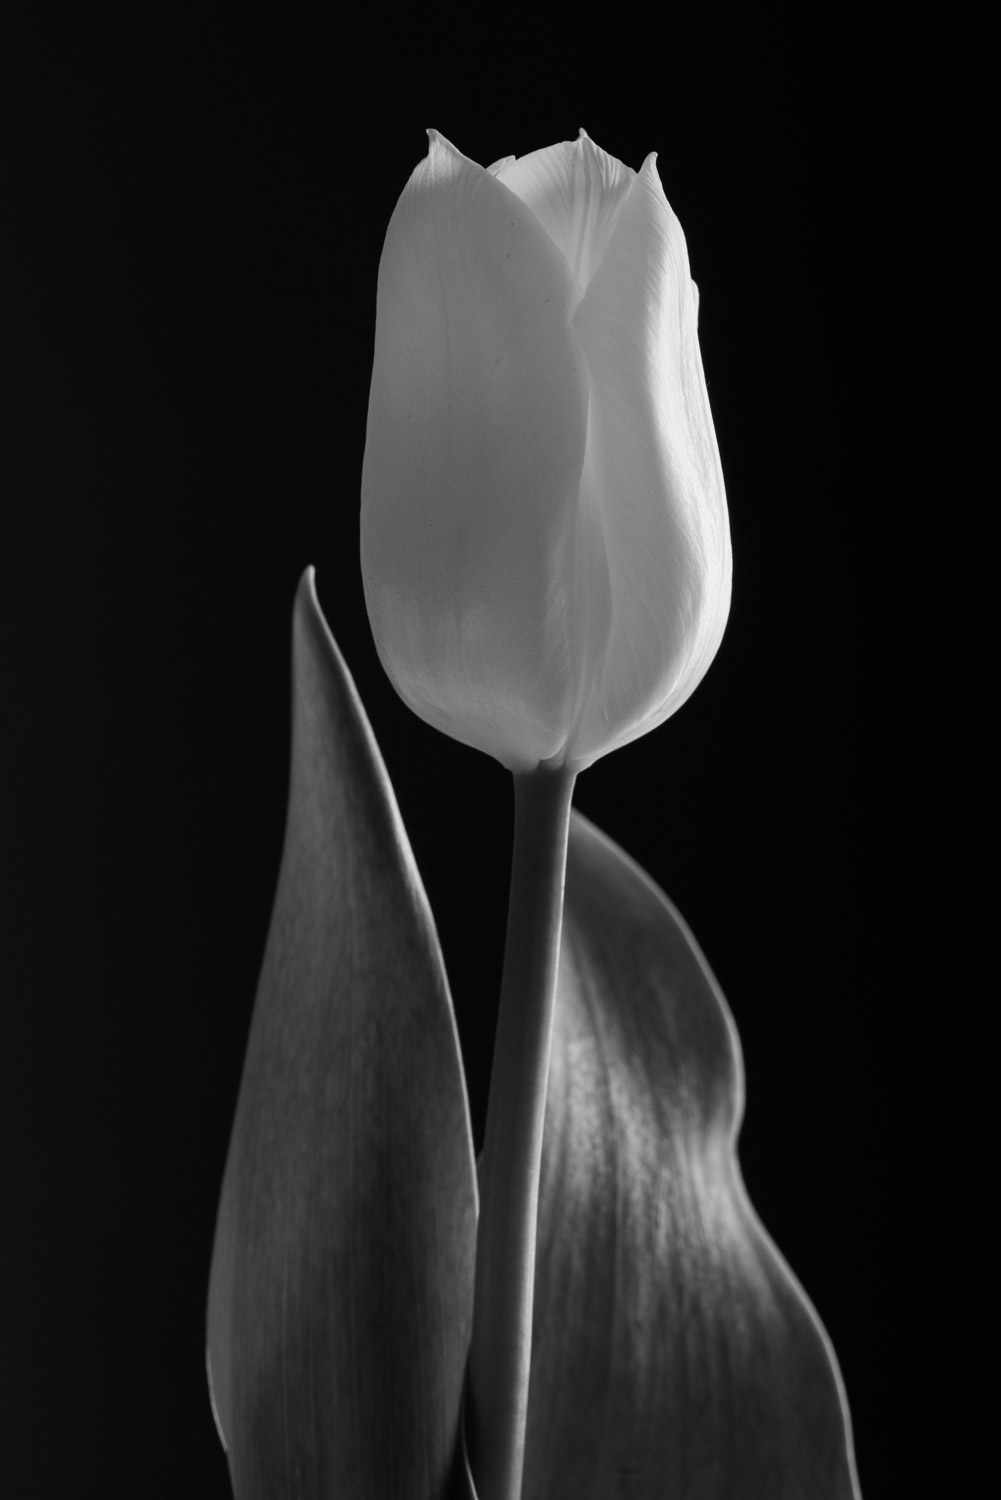
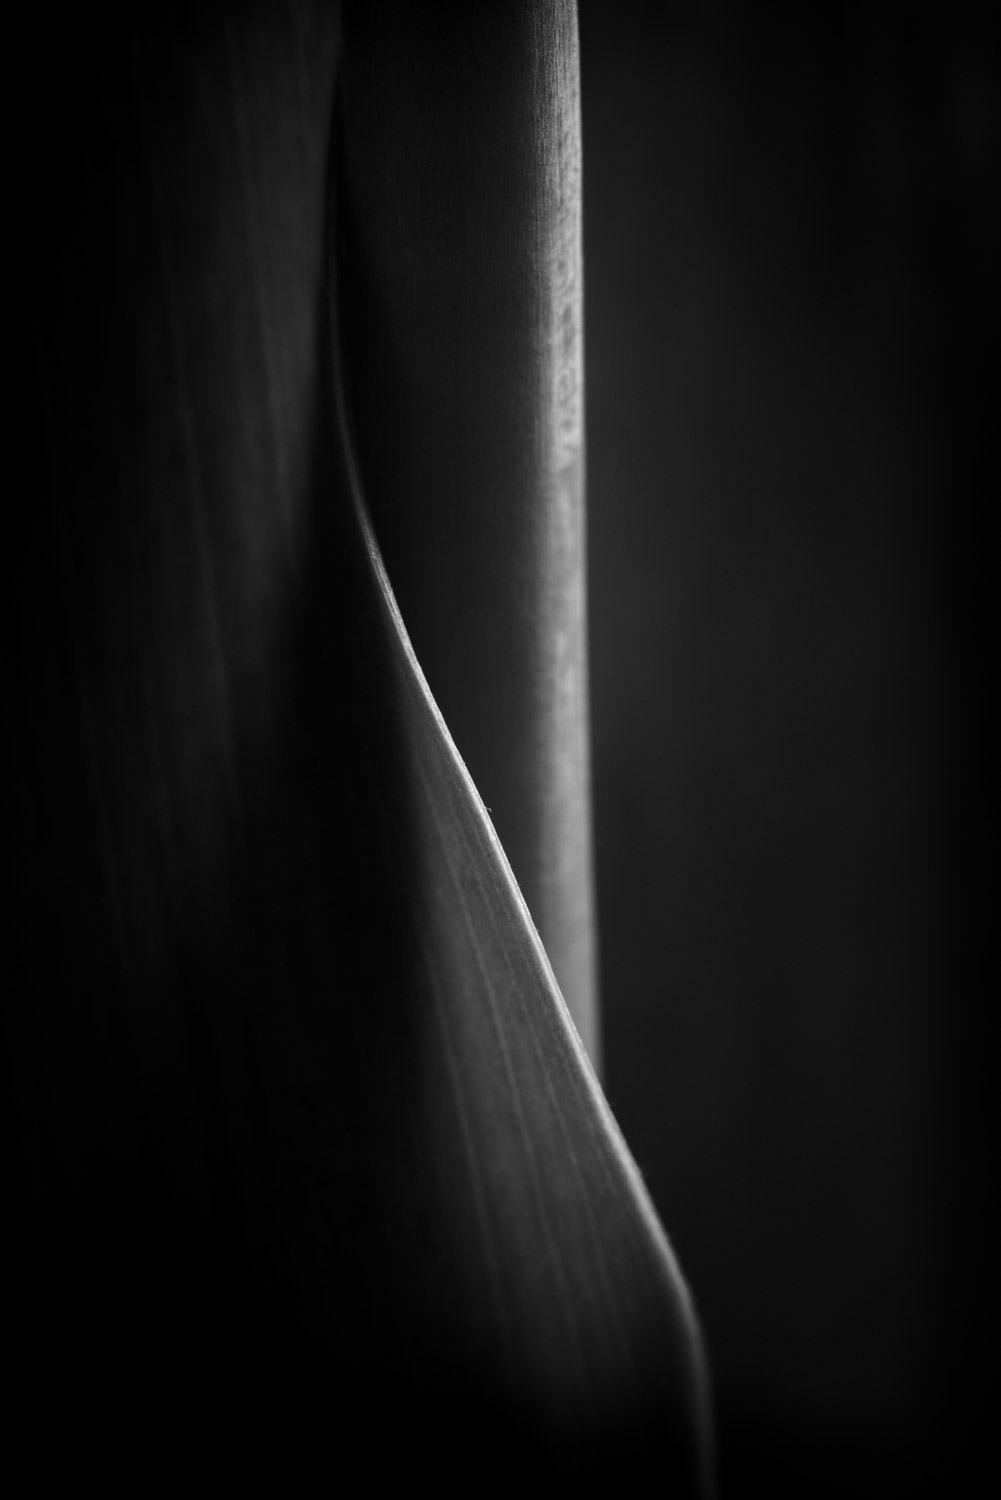
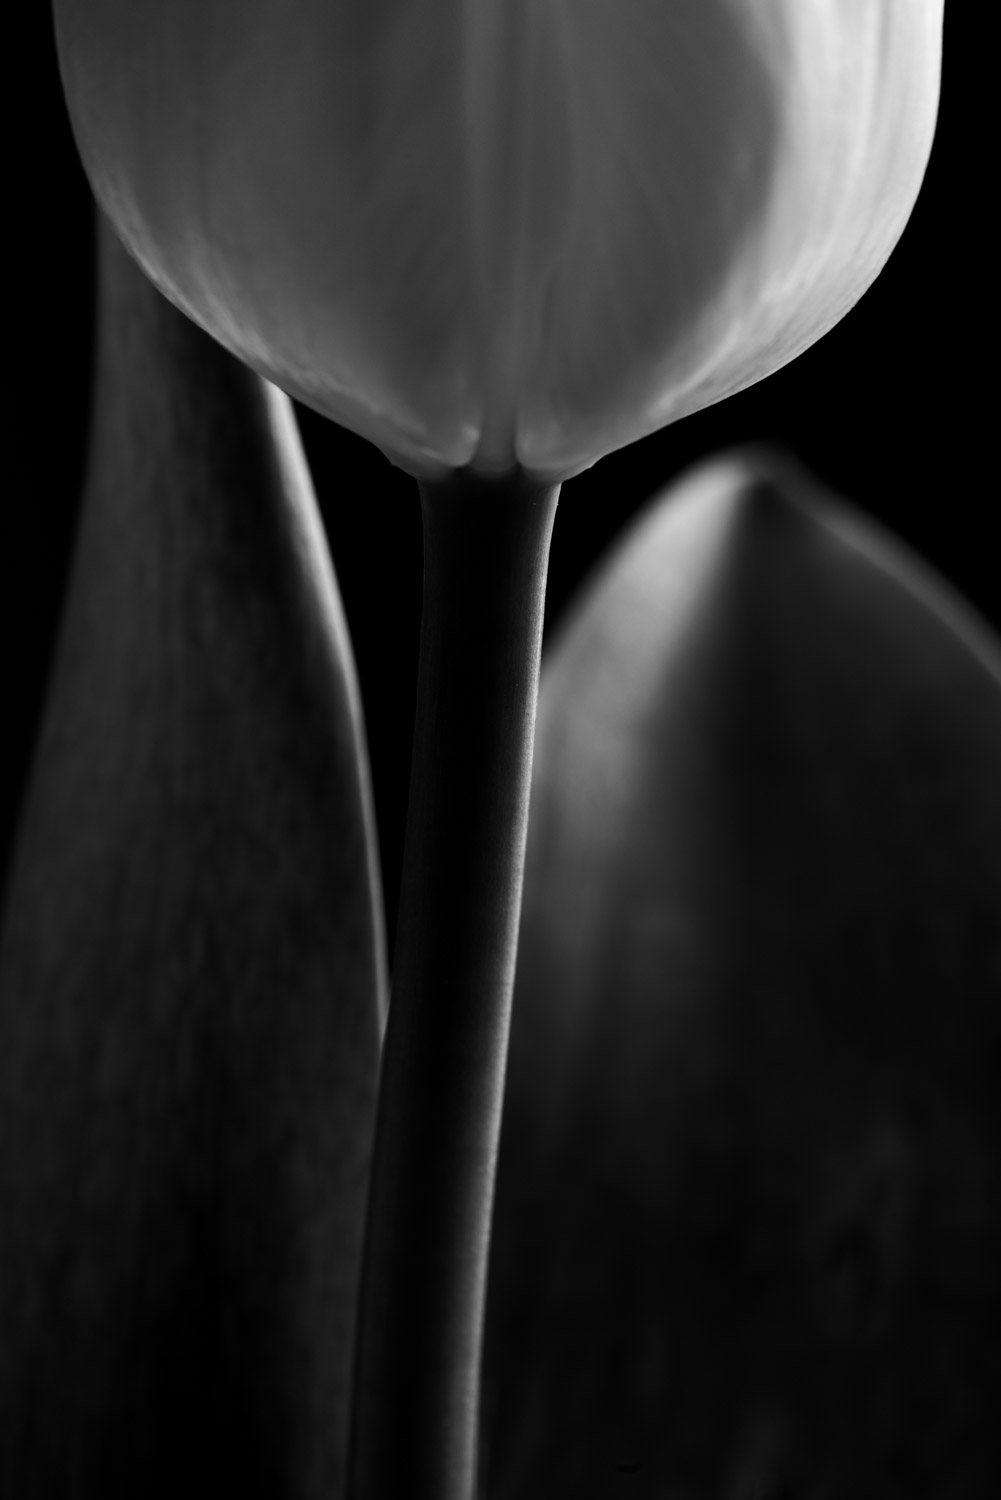
I particularly like photographing tulips as I feel they pose rather like a theatrical actor on stage. These tulips were taken on my dining room table using my distant (and dark) wall as a clean backdrop. Although the tulips all had yellow heads for this first project, I decided to go for a black and white look to turn the heads white, creating a more artistic feel. Picking out individual stems for simplicity and elegance, I arranged them to make the most of their shape and beauty. Using nothing more than nearby french windows, I chose an overcast day so that even, soft light washed over each flower, highlighting their contours and texture. I set out to make a coherent set of images, so it was essential to think about image format, in this case, opting for portrait, which I thought suited the shape of the flowers. Attention to detail is critical - plan and make sure you have enough stable light to fulfil your goal in one shoot (your flowers may have changed shape or look past their best the next time you shoot). Also, be careful about focusing as this can make or break an image. I prefer concentrating on the flower's central head, the outer edge of a petal or the flower stem itself depending on my objective. If you're not sure, take an image from all three areas to be on the safe side (you can choose the best later). Incidentally, this subject would also be useful for learning about focus-stacking, but in this case, I prefer to see sharp and soft areas as I wanted to emphasise the feeling of depth.
Once imported into Lightroom Classic, I opened the Develop module and checked all images' Levels to ensure their background was ink-black for uniformity. Using a soft brush, I darkened and lightened certain areas of each image for a low-key and coherent look. As the original photos were colour, I could adjust the luminance channels of green and yellow to increase each flower's stem and head's luminance independently.
These images look great individually or as triptychs in fine-art prints. As a full set, they can make a great photobook, too. A straightforward and cheap project that will keep you occupied for hours!