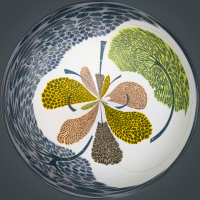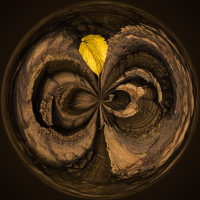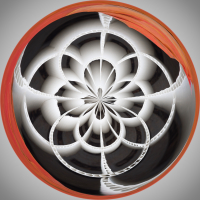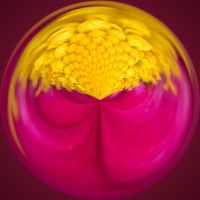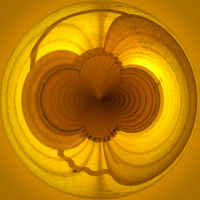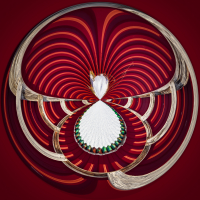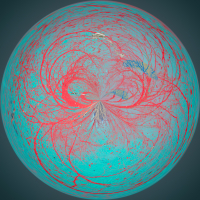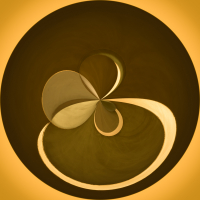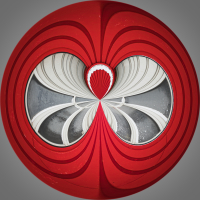
Losing your marbles!
A good exercise in keeping your compositional skills honed during lockdown is to photograph objects around your home and garden based on a project, i.e. developing a series of images that work well individually and as part of a set. As your photos may need some post-production, a project may improve your processing skills, too.
In a small series of weekly articles, I'm going to demonstrate some ideas and techniques you might like to try - most of which you can achieve using your existing camera and lenses. In fact, for this article, you can even use images you already have on your hard-drive.
Marbles and more
At times, during this pandemic, I've thought I might be losing my marbles, so what better way to start this series than trying to create some?!
This project will require a copy of Lightroom Classic and Photoshop to complete; therefore, this will suit those of you who subscribe to Adobe's photography plan (If you don't subscribe to it you can always try it free for seven days here).
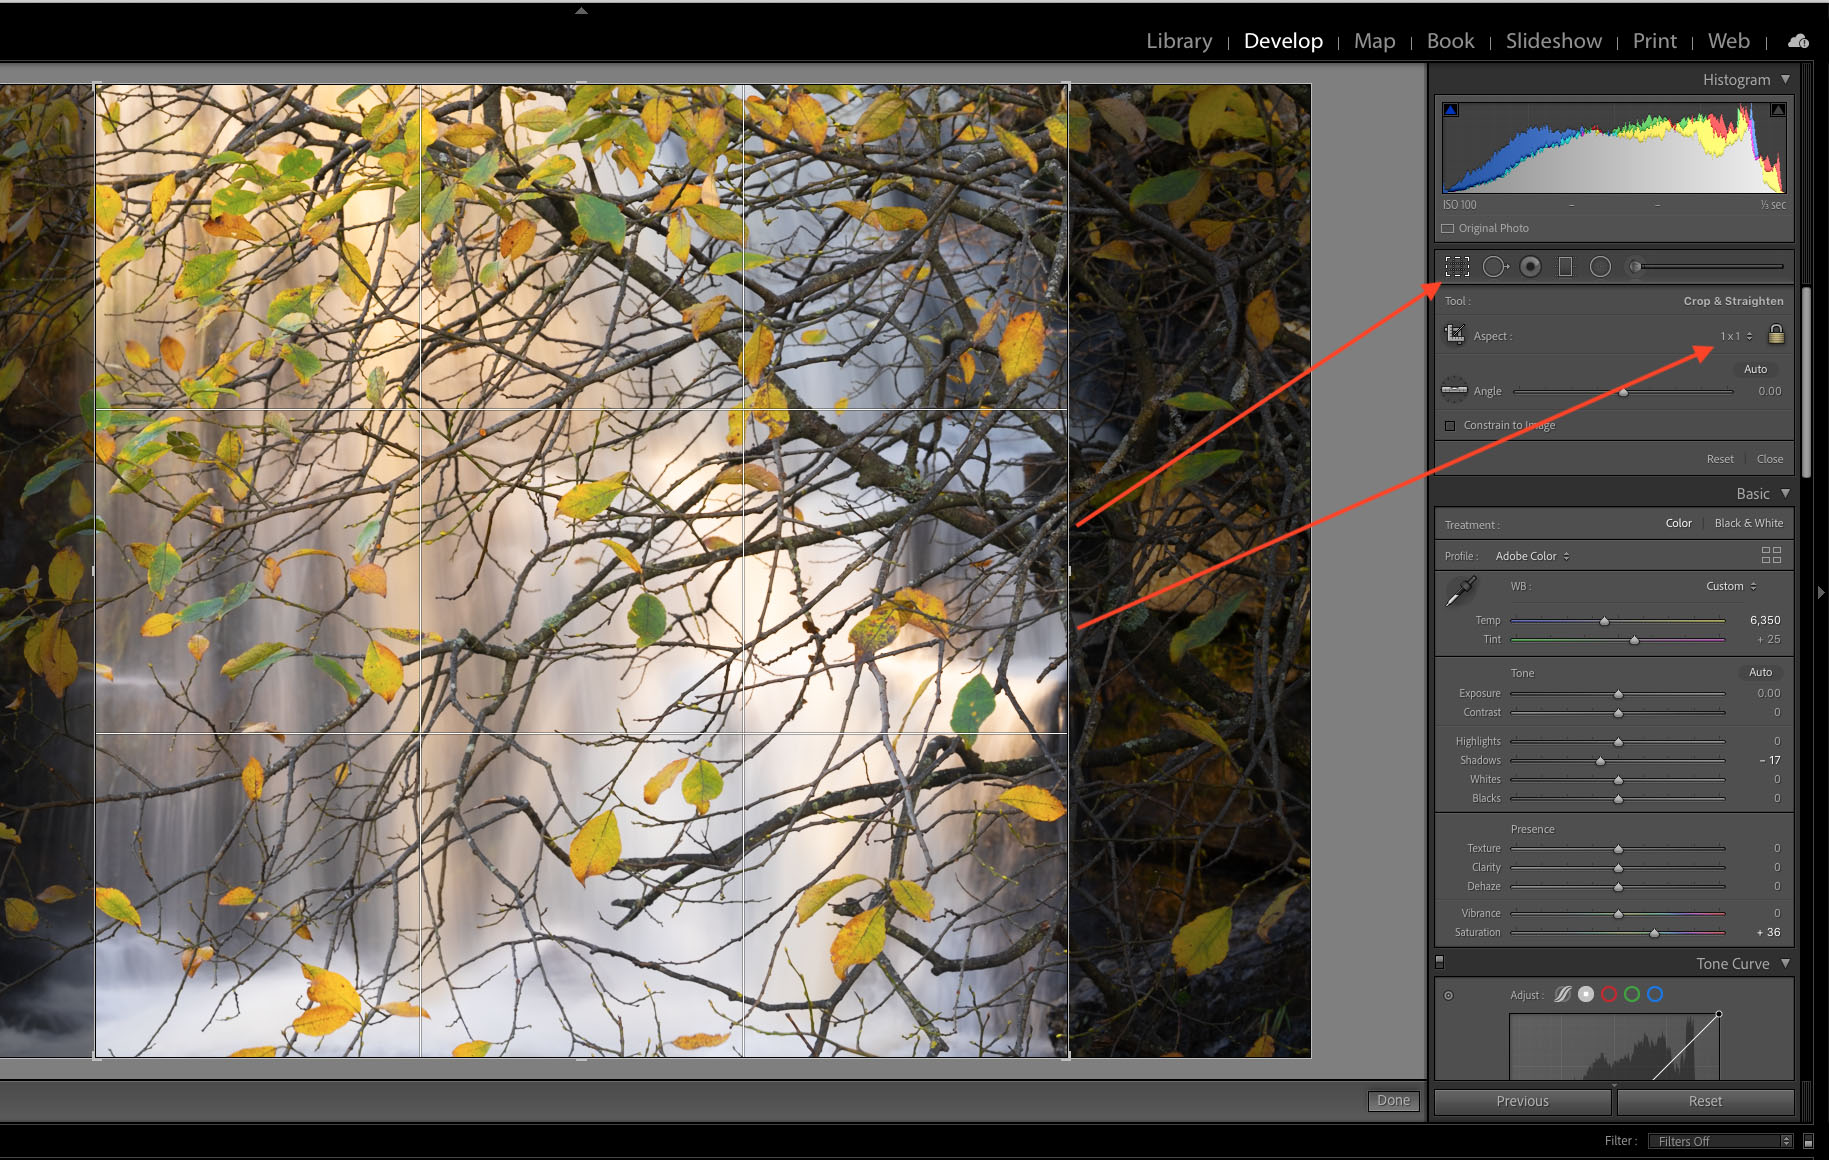
- The first step is to open Lightroom Classic, and in the 'Library' module select an image you would like to convert into a marble. From experience, a high contrast image with graphic lines tends to work best but feel free to experiment. Right-click on the image and choose 'Create Virtual Copy' (so you are not working on the master).
- Now select the Develop module and then choose the 'Crop' tool. Choose the 1:1 option and crop the image to a square (It doesn't matter which areas you decide to include in the crop because Photoshop will distort the picture anyway).
- We now need to transfer the image to Photoshop. So, right-click on the image and choose 'Edit in Adobe Photoshop' > 'Edit a Copy with Lightroom Adjustments' > 'Edit'.
- Duplicate the layer by choosing 'Layer' > 'Duplicate Layer'.
- Then choose 'Filter' > 'Distort' > 'Polar Coordinates' and select 'Polar to Rectangular'. Click 'OK'.
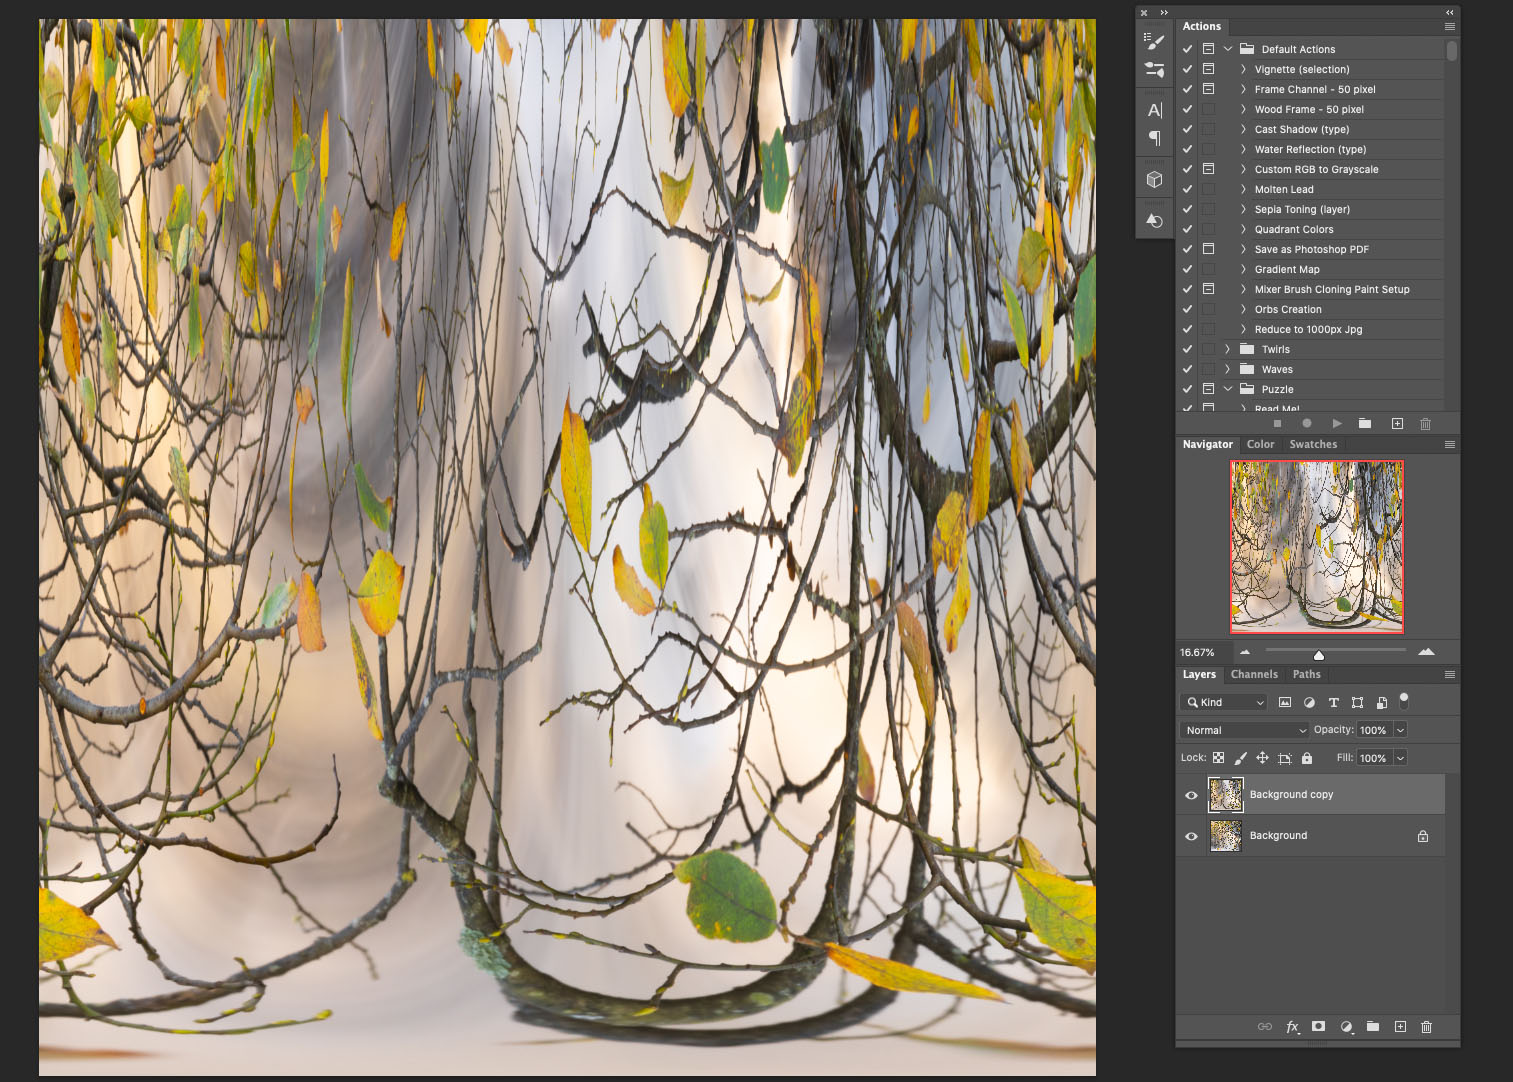
- Now choose 'Edit' > 'Transform' > 'Flip vertical'.
- Select 'Filter' > 'Distort' > 'Polar Coordinates', choosing Rectangular to Polar this time. You should now see your marble coming to life, but we're going to give it some finishing touches back in Lightroom shortly.
- To minimise the file size, let's flatten the two layers by selecting 'Layer' > 'Flatten Image'. Then save the image back into Lightroom by merely choosing 'File' > 'Save' (Not 'Save As'). You can now quit Photoshop and return to Lightroom, where you should find your marble next to the original image.
We're now going to refine the image further within Lightroom, including creating a more three-dimensional look.
- With the marble image in the Develop module, choose the radial filter. Hold down the Cmd (Mac)/Ctrl (PC) key on your keyboard double-click anywhere on the image. Lightroom will automatically create a radial that touches all four sides of the picture.
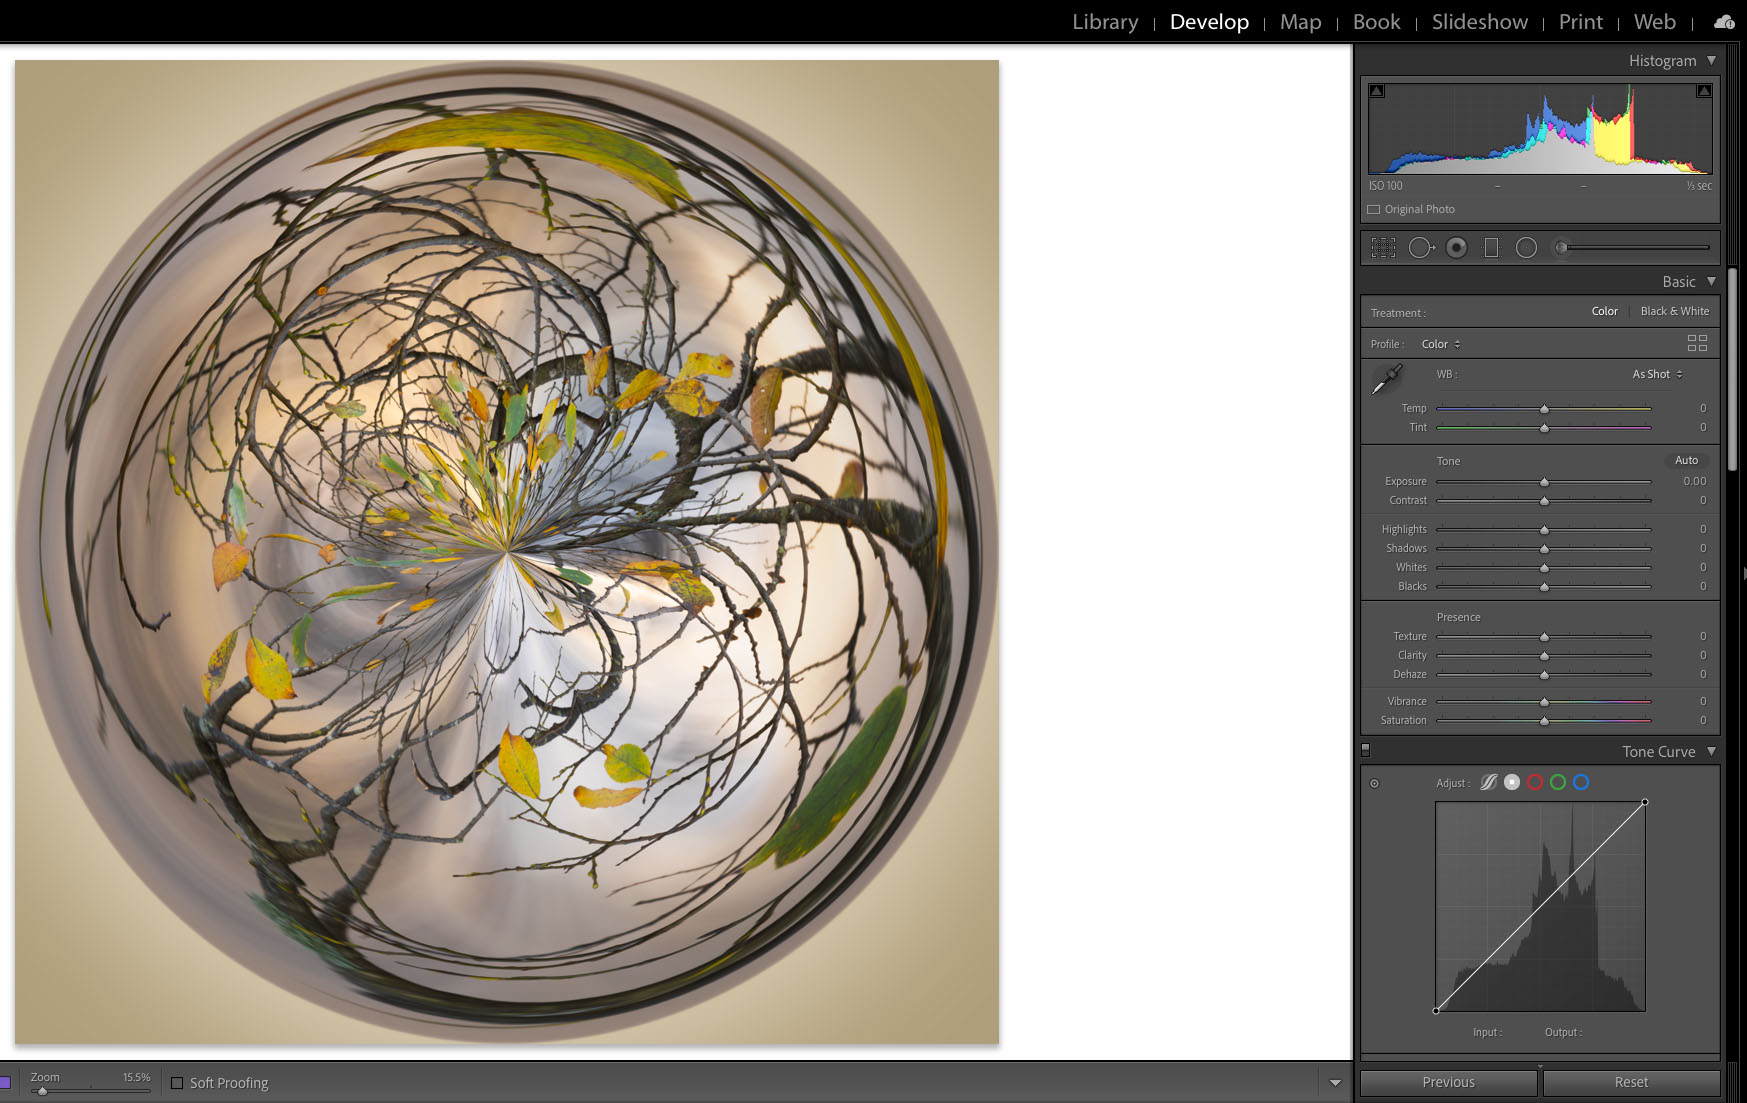
- Hold down the shift key and, using one of the control points (the small white squares top, bottom left or right), click and drag the radial towards the centre a little (say around 2 or 3 cm). Due to holding down the Cmd/Ctrl key, all four sides will contract equally towards the centre.
- Finally, reduce the exposure by around 1-stop to create a more 3-dimensional feel to the marble. To further enhance the background, try adding more radial filters and experiment with the Hue, exposure levels and feather amounts to colour, darken or lighten the marble's outer area to taste.
I hope you found this article helpful. If you would like to learn more about Lightroom and/or Photoshop, consider booking a 1-2-1 Zoom session with me to accommodate your specific processing needs. You can find full details of all my workshops on my Workshops Page here.
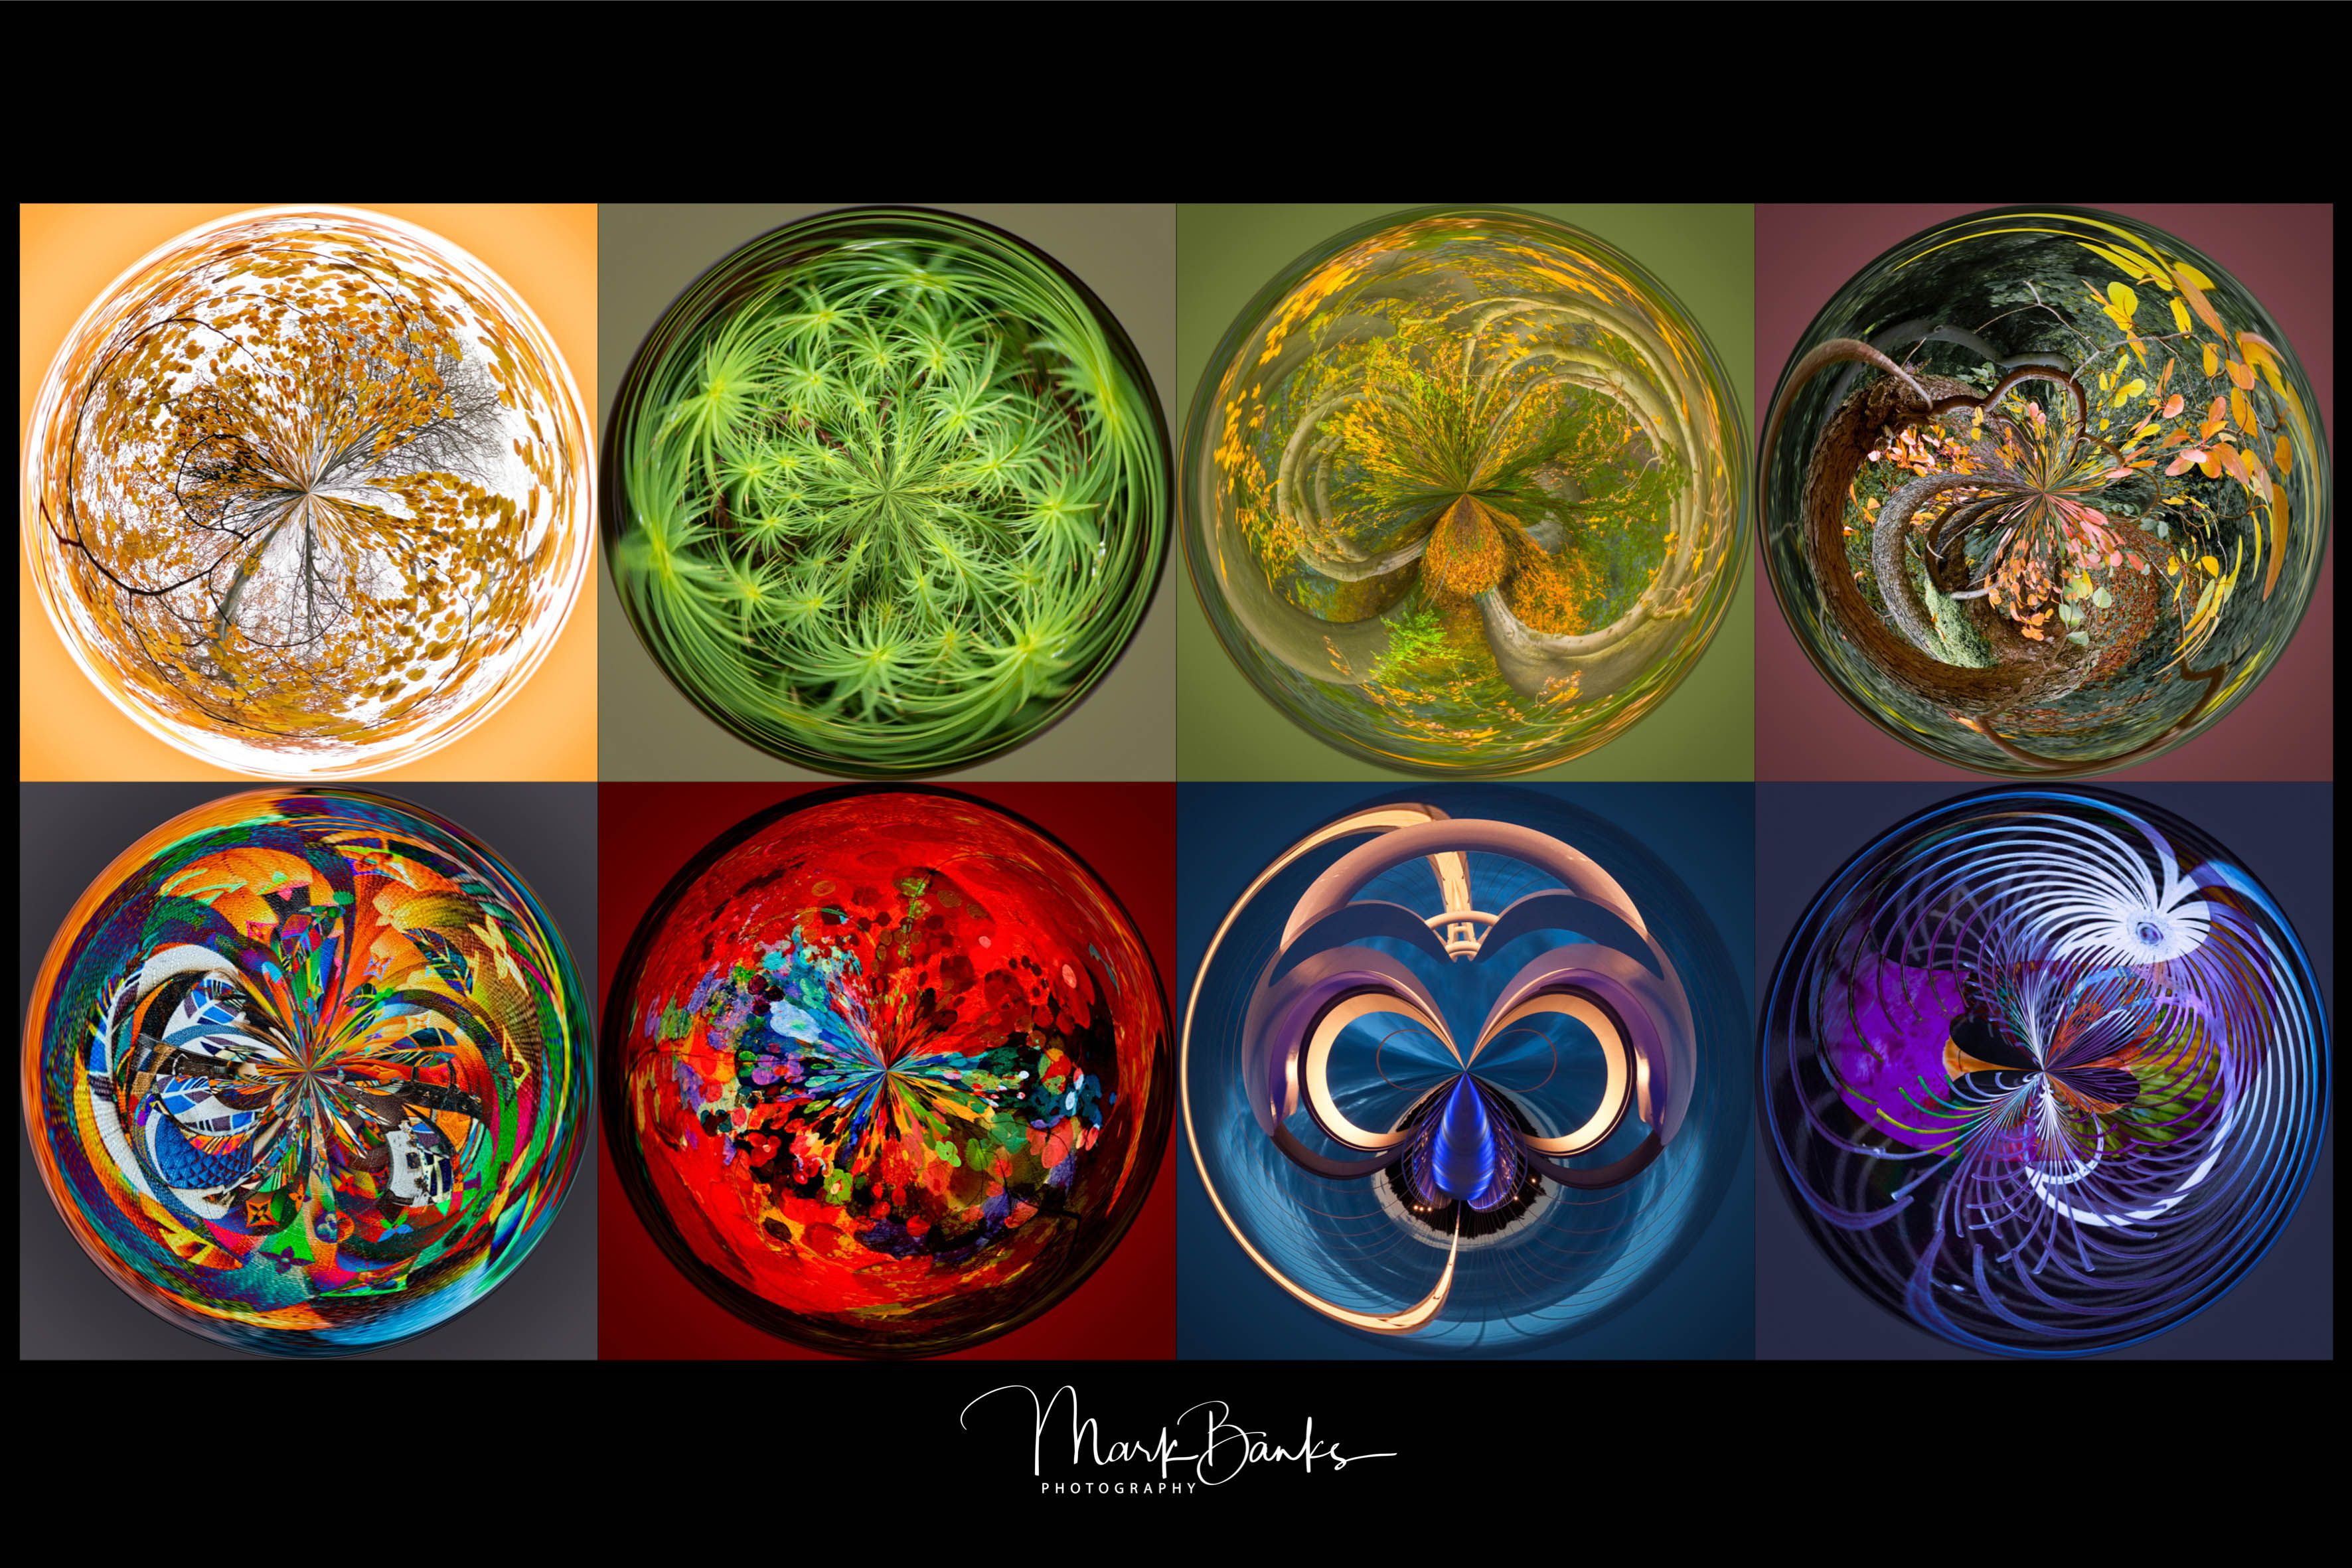
A selection of Marbles
