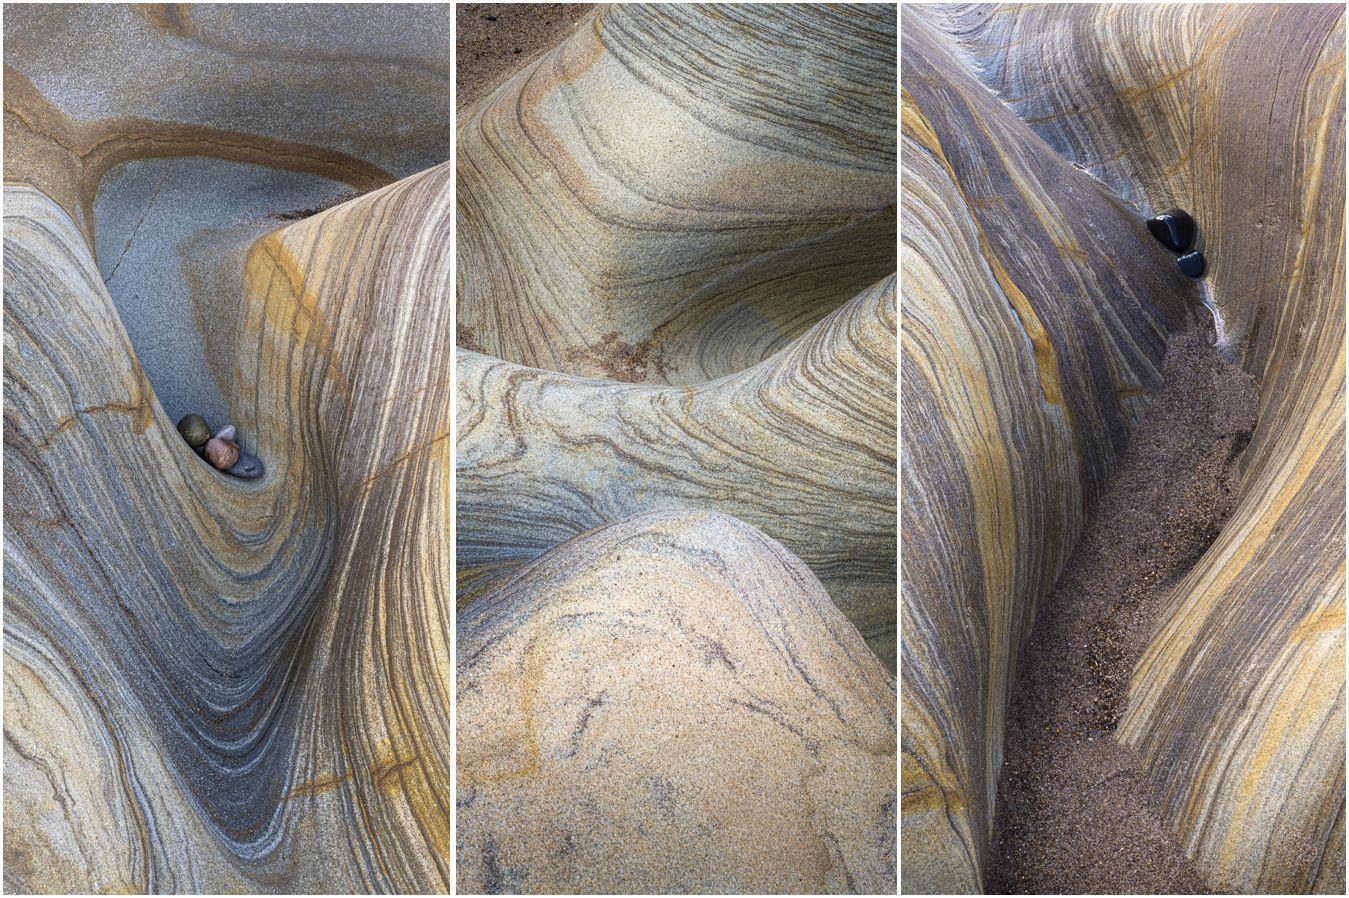
Focus-stacking in Photoshop
Introduction
Some of my workshops involve demonstrating the practical techniques I use to focus-stack an image out in the field (or shoreline). If it's a one day workshop, however, It's not always possible to demonstrate the final steps necessary to blend the images together using Photoshop. Therefore, I've created this article to fill in those missing steps as well as help others who are not so sure of the final steps to success.
One of the most popular software programs for focus stacking is Adobe Photoshop. In this article, we will discuss the steps involved in focus stacking images imported from Lightroom Classic, the software I use to catalogue and process my images. If you use different software to store and process your images, there's likely to be a similar method to the steps shown below.
Why do I need to focus-stack?
Due to the focal length of a lens and its proximity to a subject, front-to-back sharpness isn't always achievable in one image. Taking multiple images of the subject at different focus points and blending them together using applicable software allows us to overcome this problem.
Step 1: Capturing your images
The first step in focus stacking is to capture your images. It's best to use a tripod to keep your camera steady and to make sure that each image is framed in the same way. You will need to take multiple shots of the same subject, each with a different focus point. The number of images you need will depend on the subject and the desired depth of field. Some cameras have the ability to focus-stack for you, so it's worth checking your camera's manual if you're not sure whether yours does it. It definitely saves a lot of time (and backache if the composition involves stooping over your camera)!
Now, import your images into Lightroom as you would normally.
Step 2: Import your images into Photoshop
Once you have your images, the next step is to export them into Photoshop for stacking. From within Lightroom, select all the images you would like to stack together by clicking on each image whilst holding down the Command key (Mac) or Control key (PC). Right-click on one of the images and a sub-menu will appear. Choose 'Edit In > Open as Layers in Photoshop'.
After you have loaded your images, Photoshop will create a stack of layers (usually displayed in the right column). Here, you need to select all the layers by choosing the first image in the layer stack and then, holding down the shift key, select the last image. All images should be highlighted in a light-grey colour (as confirmation they are all selected).
Step 3: Align the layers
To make sure that the images are aligned properly, go to 'Edit > Auto-Align Layers'. In the Auto-Align Layers dialog box that appears, select "Auto" for the alignment option and click OK (I prefer to leave Vignette Removal and Geometric Distortion unticked).
Step 4: Create the focused stack
Once the layers are aligned, it's time to create the focus stack. To do this, make sure that all the layers in the Layers panel are still selected (they should be). Then go to 'Edit > Auto-Blend Layers'. In the Auto-Blend Layers dialog box, select "Stack Images" and check the "Seamless Tones and Colors" option. Click OK to create the focus stack.
Step 5: Flatten and Save the image
I prefer to flatten the image rather than preserving all individual layers as the filesize is much smaller and easier to work on later. In the top toolbar, choose 'Layer > Flatten Image'. Now choose 'File > Save'. This will save the image and place it back into Lightroom (usually next to the original set of images).
Step 6: Fine-tune the image
After you have created the focus stack, you may need to fine-tune the image. Due to the way that Photoshop stacks images, you are likely to find blurred areas around the perimiter of the stacked image (you may need to zoom in to see this). I, therefore, slightly crop in on all sides using Lightroom's crop tool to remove the blur. From here, I process the image as I see fit.
In conclusion, focus stacking using Photoshop is a simple and effective way to increase the depth of field in your images. By following these steps, you can create stunning images that are sharp from front to back. With practice and experimentation, you can master this technique and take your photography to the next level.