
Mark's Beginner's Guide to Lensbaby
Lensbaby lenses can be a great way to unleash your creativity. Summer is the perfect time to experiment with these lenses and see what you can create. However, with so many options available, it can be overwhelming to choose your first Lensbaby lens. That's why I've created a beginner's guide to help you understand and navigate the product range and get started on your journey. So why not take a few minutes to read on and learn more about how you can enhance your photography skills with Lensbaby lenses?
What is Lensbaby?
Camera lens manufacturers go to great lengths to produce lenses that are super sharp and bright with almost no distortion or aberation. No doubt this is fuelled by us humble photographers looking to take tack sharp, distortion-free images. However, on my workshops over recent years, I've noticed a growing popularity in the use of certain vintage lenses to create softer, more ethereal pictures and other effects. These lenses are chosen for the very fact they suffer from a softness or other issues and artefacts that, presumably, were difficult to overcome at time of manufacture. The founders of Lensbaby (based in the USA), saw the potential in this and, in 2004, started manufacturing lenses and optics specifically designed with these 'quirks' built in.

Lensbaby workshops
It has to be said that Lensbaby lenses take some time to get used to and I've spent many hours with them in the field. If you would like to learn how to get the very best out of your Lensbaby products or would like to try the range before you dive in, please consider attending one of the many creative workshops I run each year. My popular 'Macro2Print' and 'Picture2Print' workshops are crammed with creative ideas and you have access to my very large range of Lensbaby products to shoot with. A full list of all my workshops can be found on my workshops page here >>.
Before making a purchase
If you're looking to purchase your first Lensbaby product there are a few things you need to be aware of...
- All Lensbaby lenses are manual only and designed with softness or other effects in mind. So, if you're obsessed with critical sharpness in your images or prefer a camera and lens system to focus for you, then Lensbaby products are probably not for you.
- All Lensbaby lenses are prime lenses, not zoom, so choose the focal length you think will match the type of compositions you like taking. The Lensbaby website is full of articles and images which should help you decide what's right for you.
- Most Lensbaby lenses and optics are designed for full frame cameras, so be warned that the full effect of some lenses attached to APSC and Micro Four Thirds cameras may be a lot less noticeable! Lensbaby make lenses to fit a large number of cameras, so it's worth checking this useful PDF to make sure your camera is compatible first.
- I don't (yet) own every lens and focal length from the Lensbaby range, so I can't demonstrate the effect of every lens in this article using my own images but, as mentioned above, the Lensbaby website is full of examples for you to look at. I find some of the lenses offer very similar effects to each other, too, which is why it's a good idea to check the lensbaby website to compare images first before you buy.
- In recent years, Lensbaby have also introduced a range of filters they've name 'Omni' which are designed for placing in front of any lens (not just Lensbaby lenses) to create interesting bokeh and other effects. I now own most of the Omni range and they are great fun! However, as the Omni range are not lenses, I will write a separate article about these soon.
- There are other manufacturers of vintage or effects lenses on the market such as Lomography who make the beautiful yet quirky Petzval (with controllable bokeh!) and other lenses.
- Whenever possible, I encourage people to consider buying second hand products. I have two camera bags full of gear for different purposes and approximately 75% is made up of 2nd hand equipment including the bags themselves! Buying second hand keeps equipment in circulation rather than in landfill and is cheaper to buy (all my purchases have come in mint condition and mostly boxed). If you don't like buying from auction sites like Ebay, then consider buying used from Ffordes, MBP, Wex and other stores as they usually come with a warranty, too.
- I'm not being paid by Lensbaby to create this article. I just love using their products and wish to share my experience of using them.
Where do I start?
The simplest way to think about the Lensbaby range is that they produce stand alone lenses that simply attach to your camera and an 'optic-swap' system which comprises of a housing that fixes to your camera and allows you to slot in a large range of 'optics' that offer different effects. I will discuss the optic-swap system a little later but let's first start with the stand-alone lenses.
Stand-alone lenses
At the time of writing, Lensbaby's stand-alone lens systems comprises the Velvet, Twist, Sol, Soft Focus II and Trio. You might find a few other varieties on the second hand market but these appear to be discontinued products. It's also worth pointing out that the Twist and Soft Focus II are available as optics, too. The Trio is a 3-in-1 lens offering Swirl, Velvet and Soft effects by rotating a dial. Due to being able to create 3 different effects in one fitting it looks great value for money . In practice, however, I prefer the effects from the individual lenses or optics. That said, it's certainly lighter than 3 separate lenses if weight is a concern. It's only available in a relatively wide 28mm focal length, however.
There is another stand-alone lens (as well as an optic) I haven't mentioned and that is the Obscura. This is because it's not strictly a lens but a hole/aperture for creating effects similar to pinhole photography. If you like this style of photography it's definitely worth investigating!
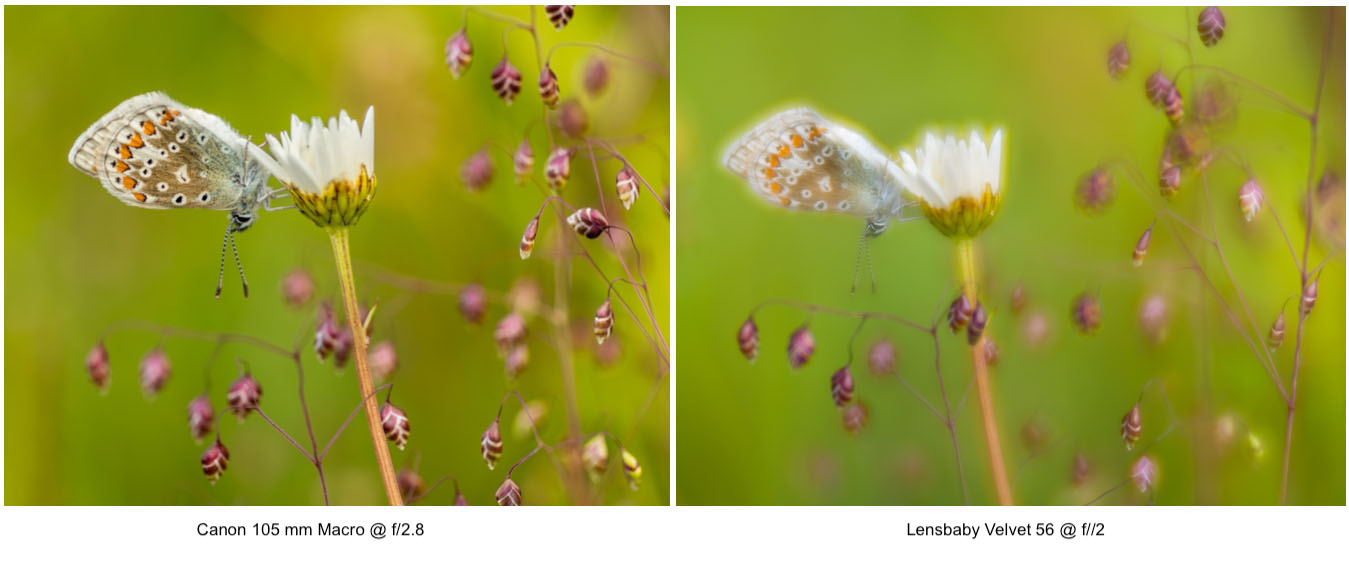
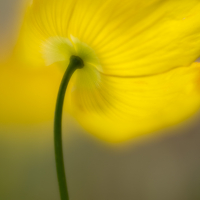
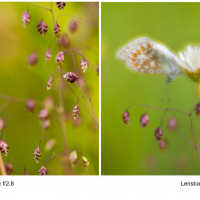
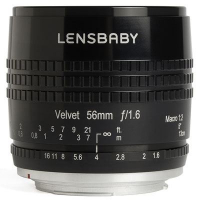
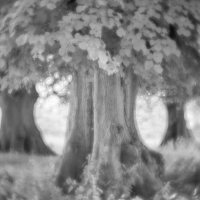
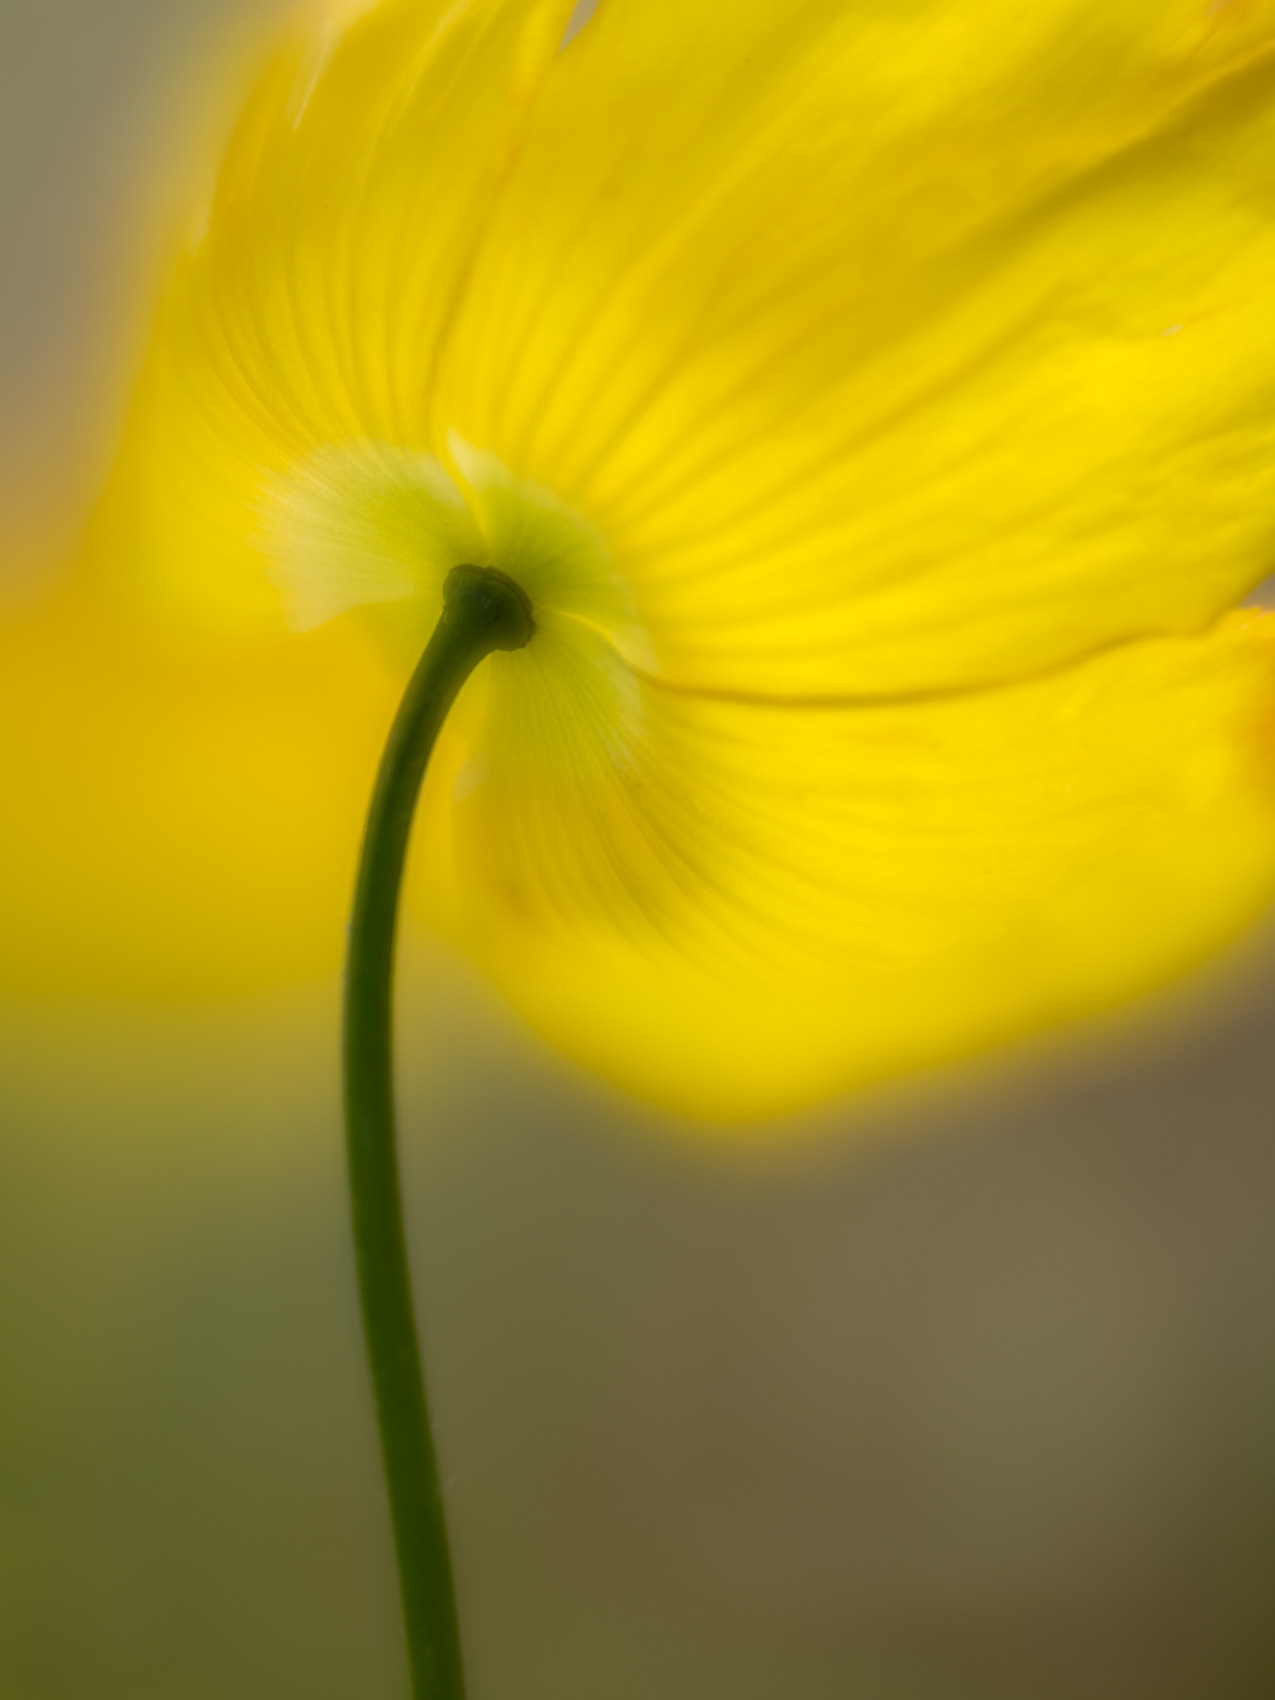
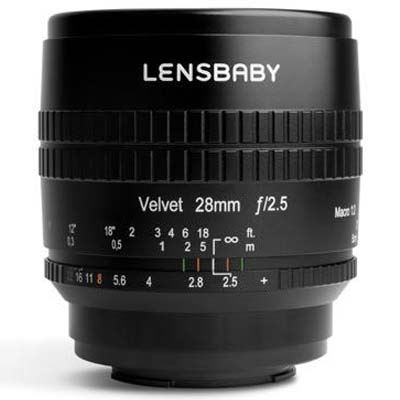
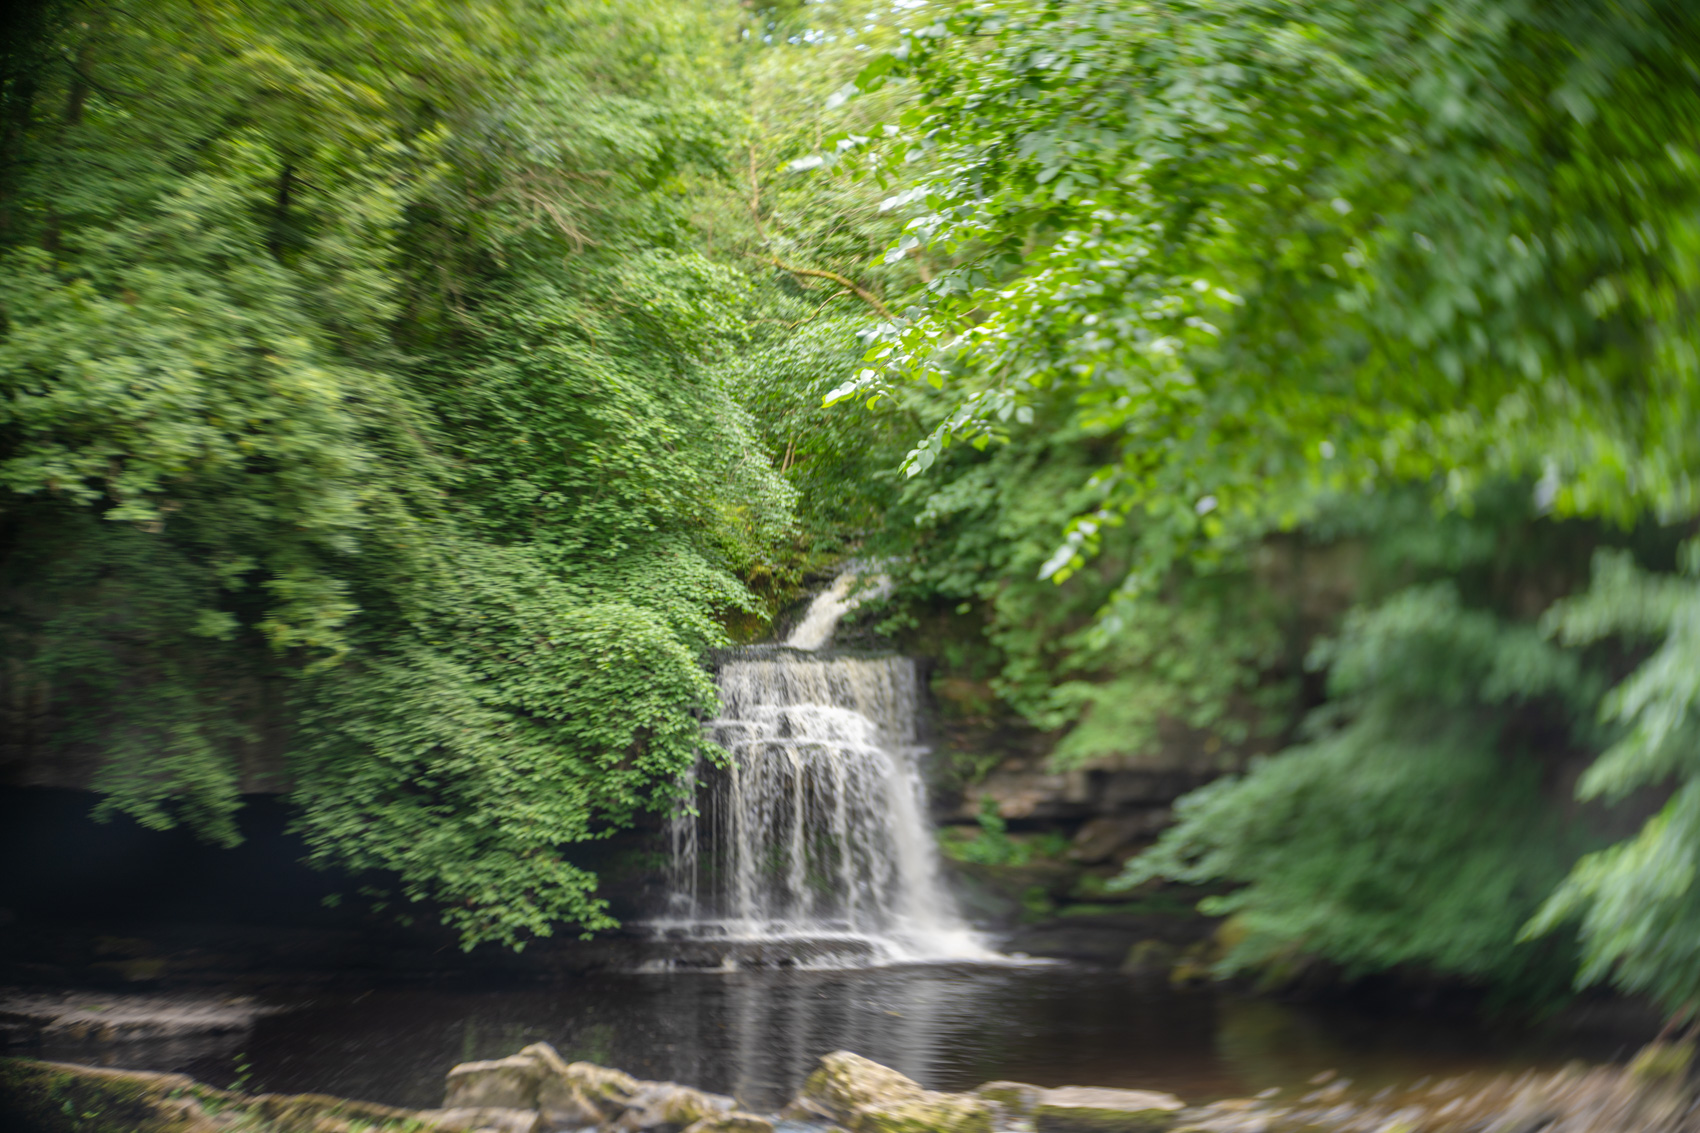
Velvet

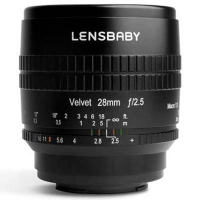
By far the most popular fixed lens is the Velvet. Of all the Lensbaby lenses, it's my favourite, too. Like all Lensbaby lenses and optics, the wider the aperture the more effect you achieve - and, in my opinion, the effect is astonishingly good! It creates a soft, velvety glow around high-contrast edges yet detail is preserved, too (bizarrely, when you stop down to a smaller aperture such as f/11 it's as sharp as a tack)! It's only when you take a picture with a standard lens and put them side by side that you really notice how much the image looks more painterly using the Velvet (at the wider aperture range). Another advantage to the Velvet range is they are all capable of close up macro work (1:2), which is ideal for creating dreamy close up images of flowers and insects. The Velvet comes in three different focal lengths - 28mm, 56mm & 85mm. The 56mm is my most used and favourite of all lenses (and only cost me £140 delivered off Ebay)!
(For bigger image, click on examples below)
Image examples - Velvet


Sol
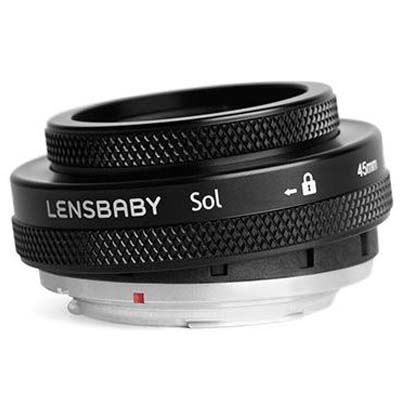
The Sol lens creates a sweet spot within the image and, as I already own the Sweet 50 (which gives a similar effect looking at pictures online), I haven't purchased it yet.
Twist and Soft Focus II
The Twist and Soft Focus II are available as stand-alone lenses as well as optics. As I have both of these as optics, I'll explain what they do a little further on.
Optic Swap System - the housings

As mentioned earlier, the optic swap system comes in two parts - the housing that fits to your camera and a large range of optics that click into the housing - each one of which creates a different effect. There are two types of housing to choose from and whichever you buy, it usually comes complete with an optic to start with (you can choose which one of course). The first, and most popular housing, is the Composer Pro II (a slightly improved version of the original). This housing is effectively a ball-joint which, when you have an optic inserted, allows you to tilt the lens and focus on a specific area within your image (rather than just the middle). Tilting a lens has generally only been possible with technical large format cameras or expensive tilt/shift lenses or adaptors, so this is also a great learning experience. There is a ring on the housing which alters the focal point by extending or contracting the distance between the lens and camera sensor. The flexibility to focus on a specific area opens up a plethora of different and interesting effects.
The other housing is called a Spark 2.0 and a little more quirky than the Composer Pro. That's because it has spring-like bellows which you compress with your fingers until the image comes into focus. Due to this, it works best hand-held rather than on a tripod (although this is still possible).
Out of the two housings, I prefer the Composer Pro II because however you set it, it will stay like that whilst taking pictures. The Spark, however, only focusses whilst you compress the bellows and de-focusses as soon as you leave go. The Spark is also more susceptible to heavy vignetting around the edges if you're not careful. That said, it's great fun to use!
Whichever housing you go for initially, be aware that it's difficult to buy them without an optic (in the UK at least). Being cheaper, I decided to buy the Spark as my first housing but soon after I could see the benefit of using the Composer Pro. Having hunted high and low, I couldn't find a Composer without an optic - even second hand. Fortunately, it was always my plan to add more optics to my kit but if this wasn't so, it could have been an expensive mistake!
Optic Swap System - the optics
Whichever housing you choose, you will then need to insert an optic. This is done with a simple push and turn clockwise action which locks the optic in place (you do the reverse to remove it). There has obviously been a lot of thought put into the design of the optic system. They are relatively small and light compared to a normal lens which makes them easier to carry in your bag or pocket. As each lens does something different, it's sometimes necessary to carry more than one optic around with you and this system allows you to do that. For convenience, every optic you buy comes with a container which you use to protect the optic when not in use. The front lens element is protected by a lens cap which is also included.
It's worth bearing in mind that, due to the unusual 46mm filter thread found on all Lensbaby optics, it's difficult to find filter holders and adaptor rings to fit them. It's therefore not easy to add third party long exposure and graduated filters to them, which can be limiting for some genres such as landscapes.
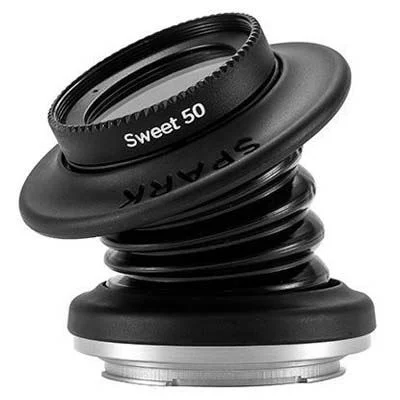
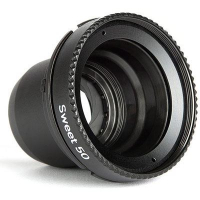
Sweet optic

As previously mentioned, when you buy the housing, you usually get an optic as part of the package. I chose the Sweet 50 mm optic (it's available in 35mm and 80mm focal lengths, too). Sweet optics create a 'sweet-spot' of focus in any part of the scene by tilting the housing. How large or small the sweet spot is, depends on the size of the aperture which you adjust by turning the barrel of the optic. The remaining out of focus area leaves a super-smooth blur and bokeh. Although the Sweet 50 is one of the most popular optics I personally don't use it as much as the Soft-focus or Twist optics I own. I don't feel it creates as much of a creative look as the others. Nevertheless, I think it's worth having in the kit bag (and, of course, your own preferences may differ from mine). Like all the optics, how much of the effect you want is dictated by the size of the aperture which you adjust by turning the barrel at the front of the optic.
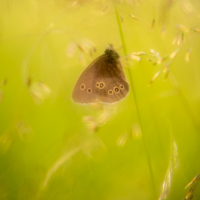
Image examples - Sweet optic


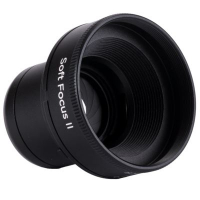
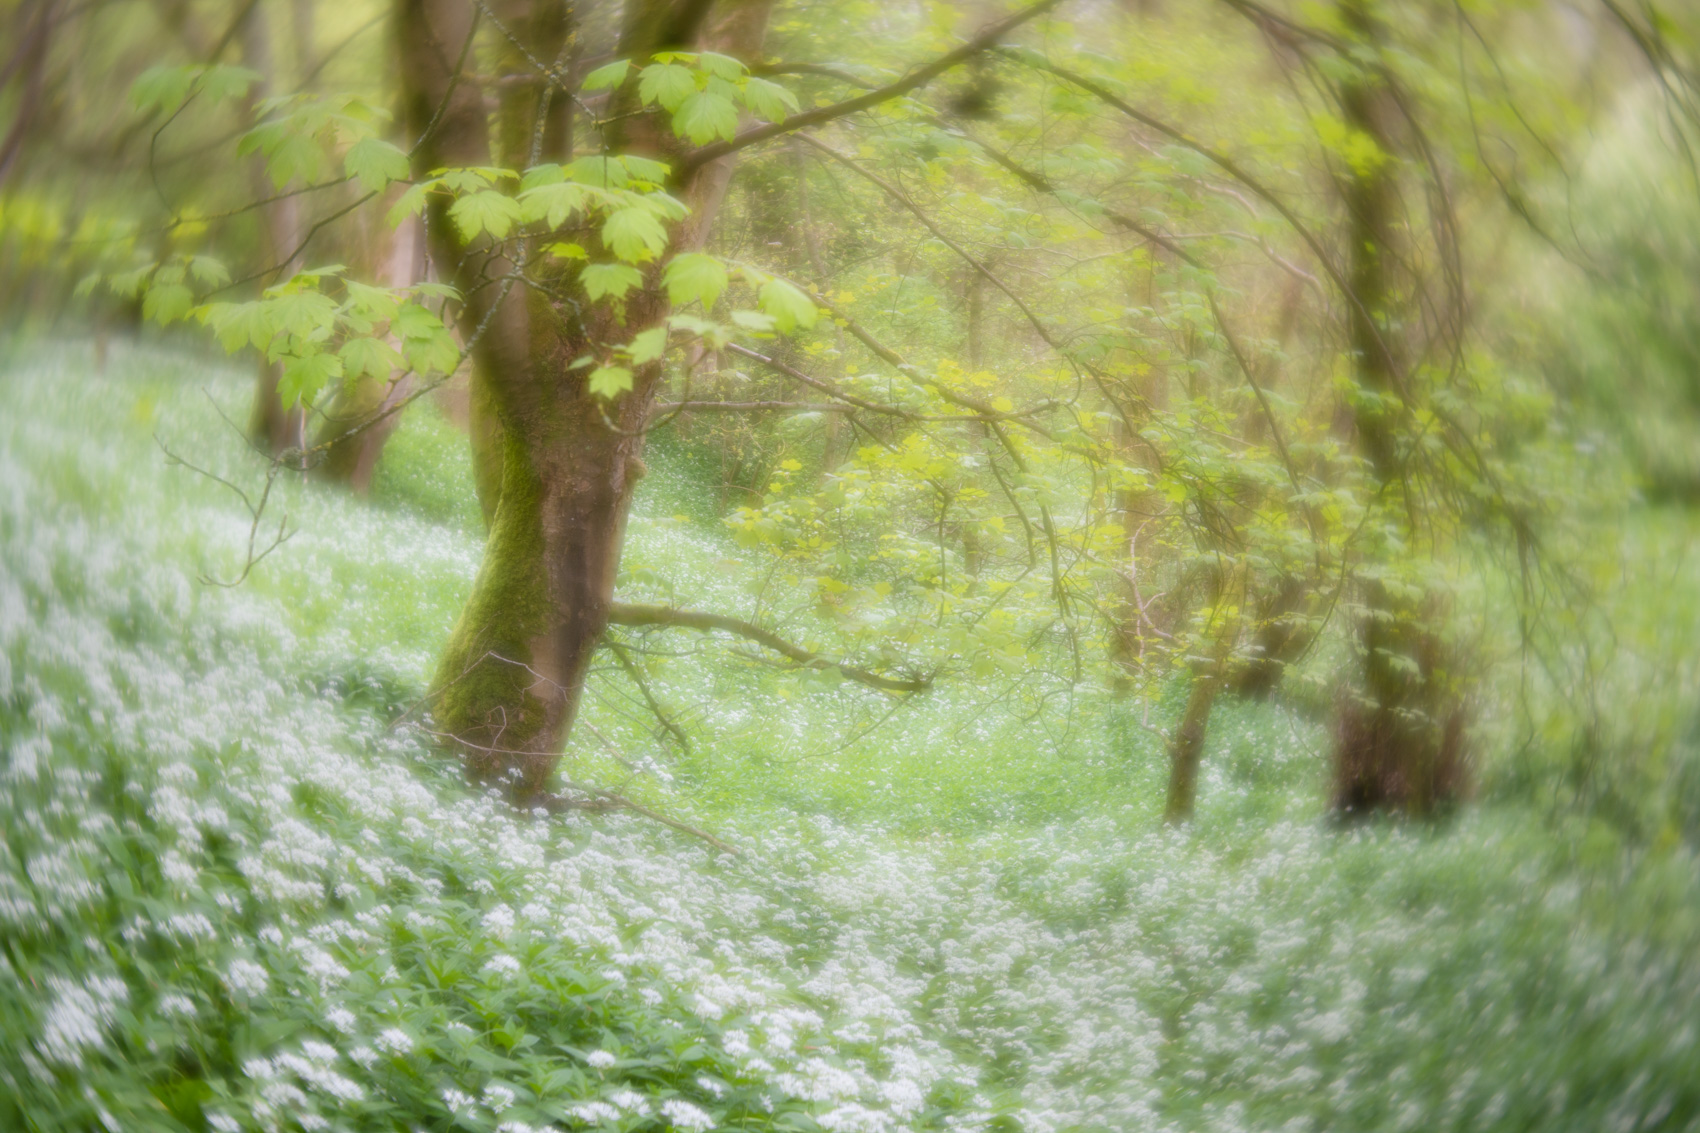
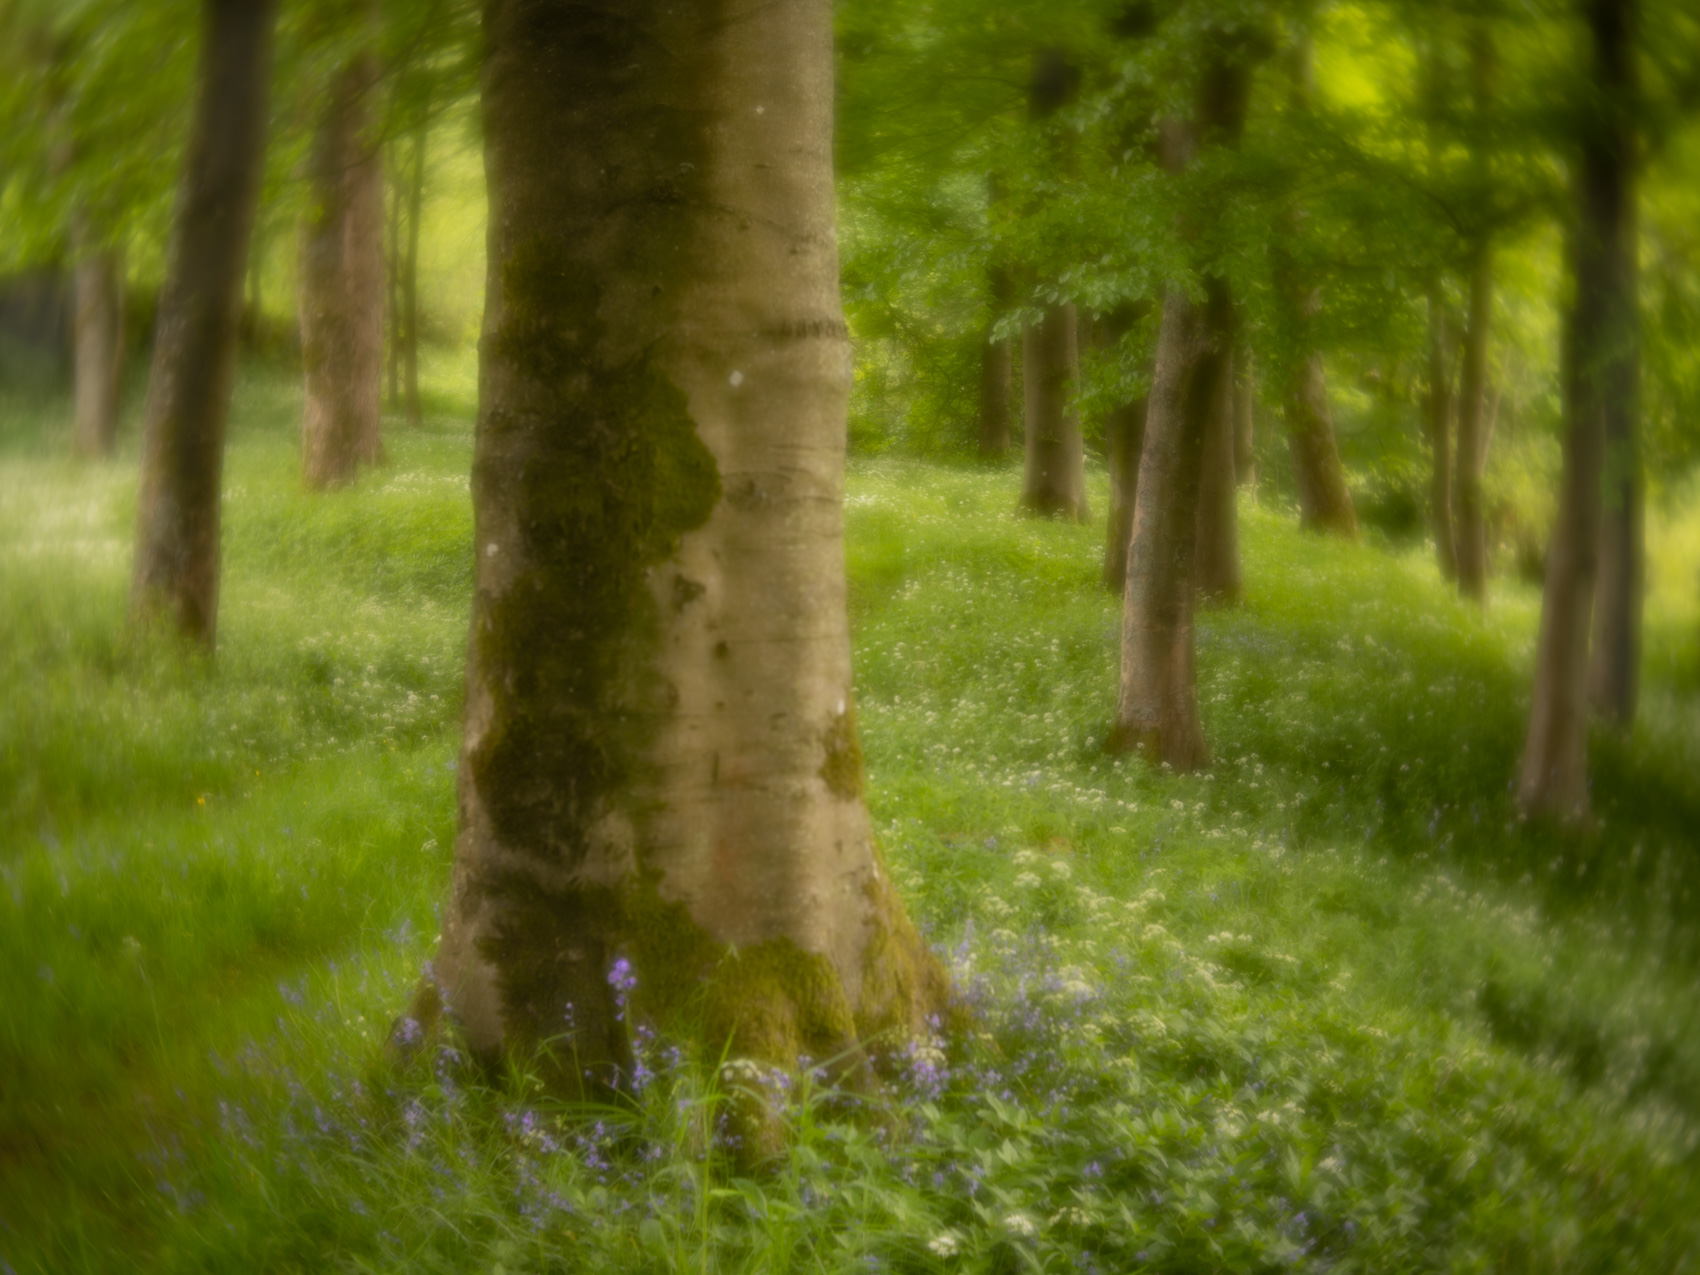
Soft-focus II optic

This is my favourite of all the lens optics. When shot at the wider apertures, the Soft Focus II creates an impressionistic look to the image which is simply gorgeous! Only available as a 50mm focal length, this second iteration now has adjustable aperture blades built in to adjust the depth of field (which affects the amount of area with soft focus). The original version only had the ability to place fixed aperture discs in front of the lens, held in place by magnets. However - and this is the exciting bit, Lensbaby chose to keep this ability and supplies a range of aperture discs in different shapes to create amazing bokeh effects. It is such a creative lens and I've spent many a blissful hour experimenting with it. Like all the optics, how much of the effect you want is dictated by the size of the aperture which you adjust by turning the barrel at the front of the optic.
Image examples - Soft Focus II optic


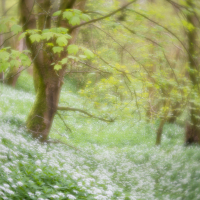
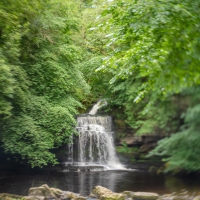
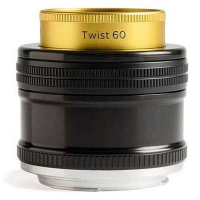
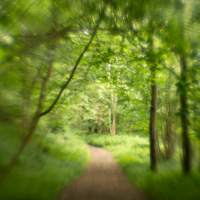
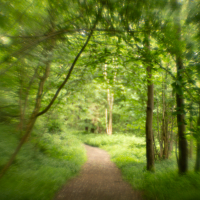
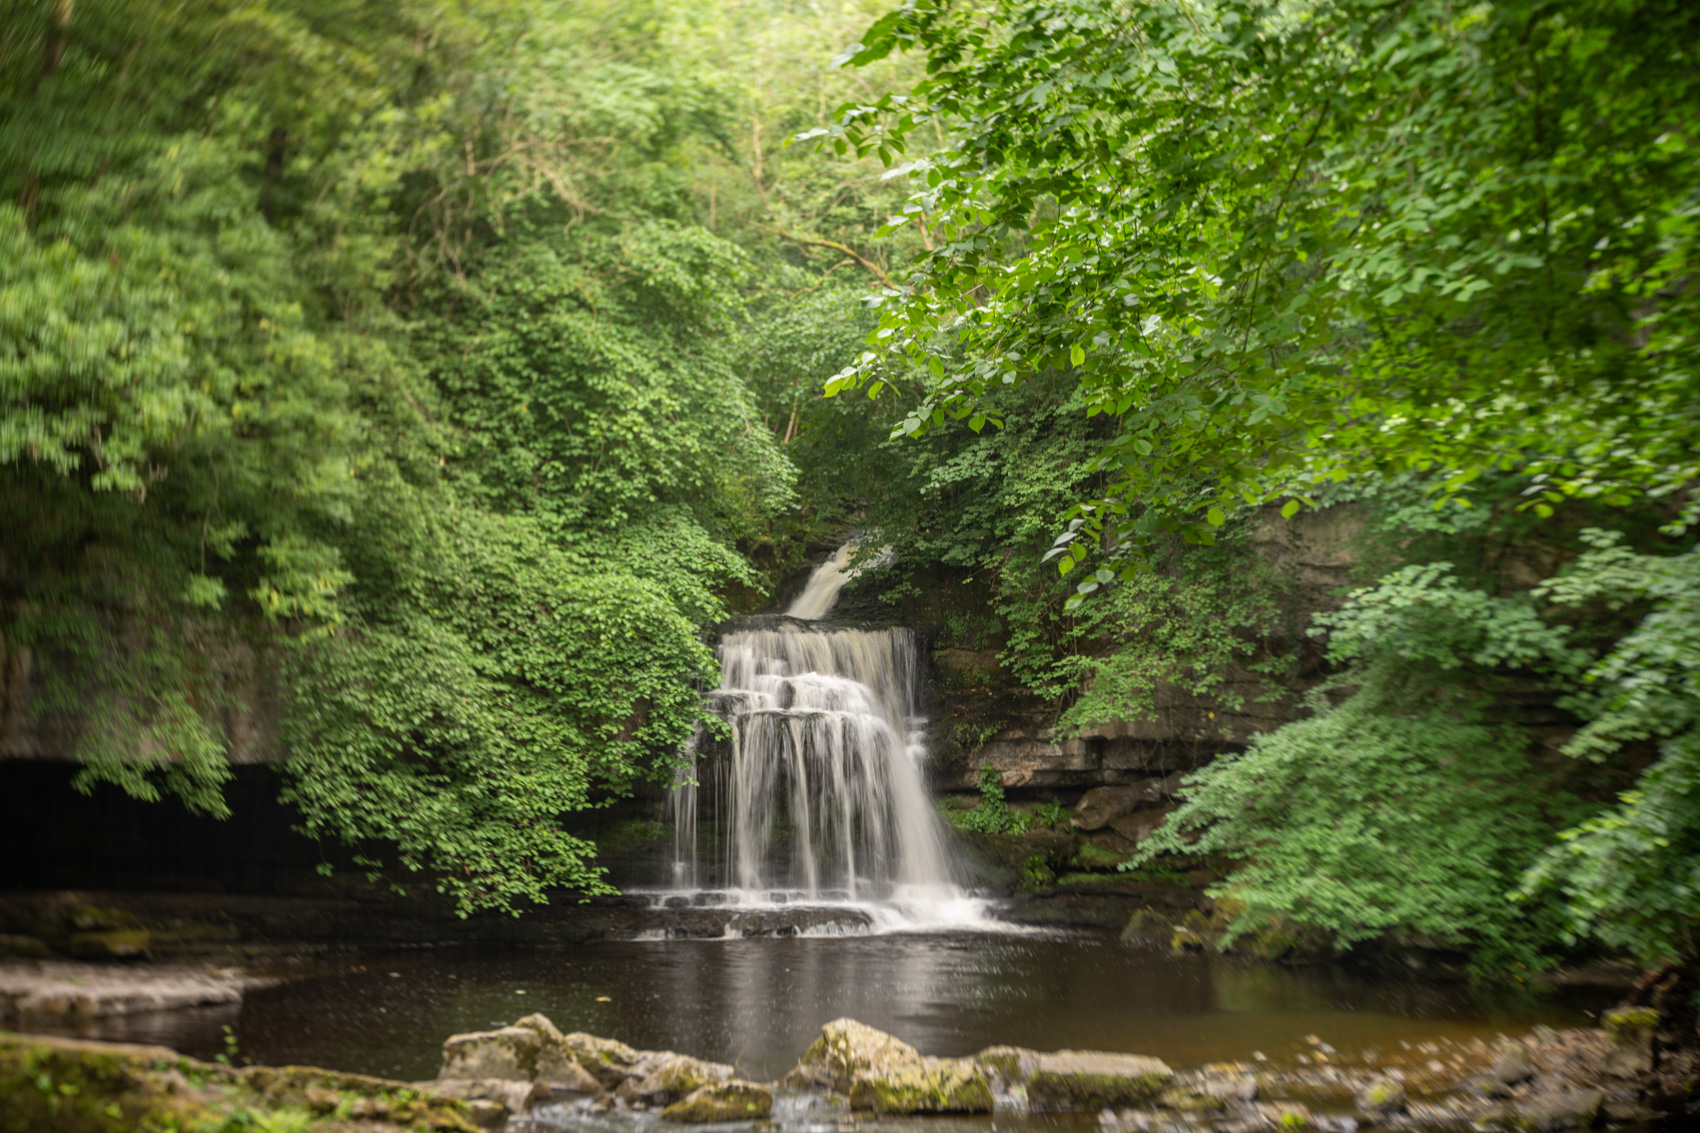
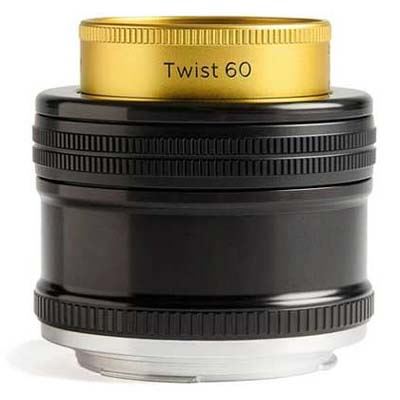
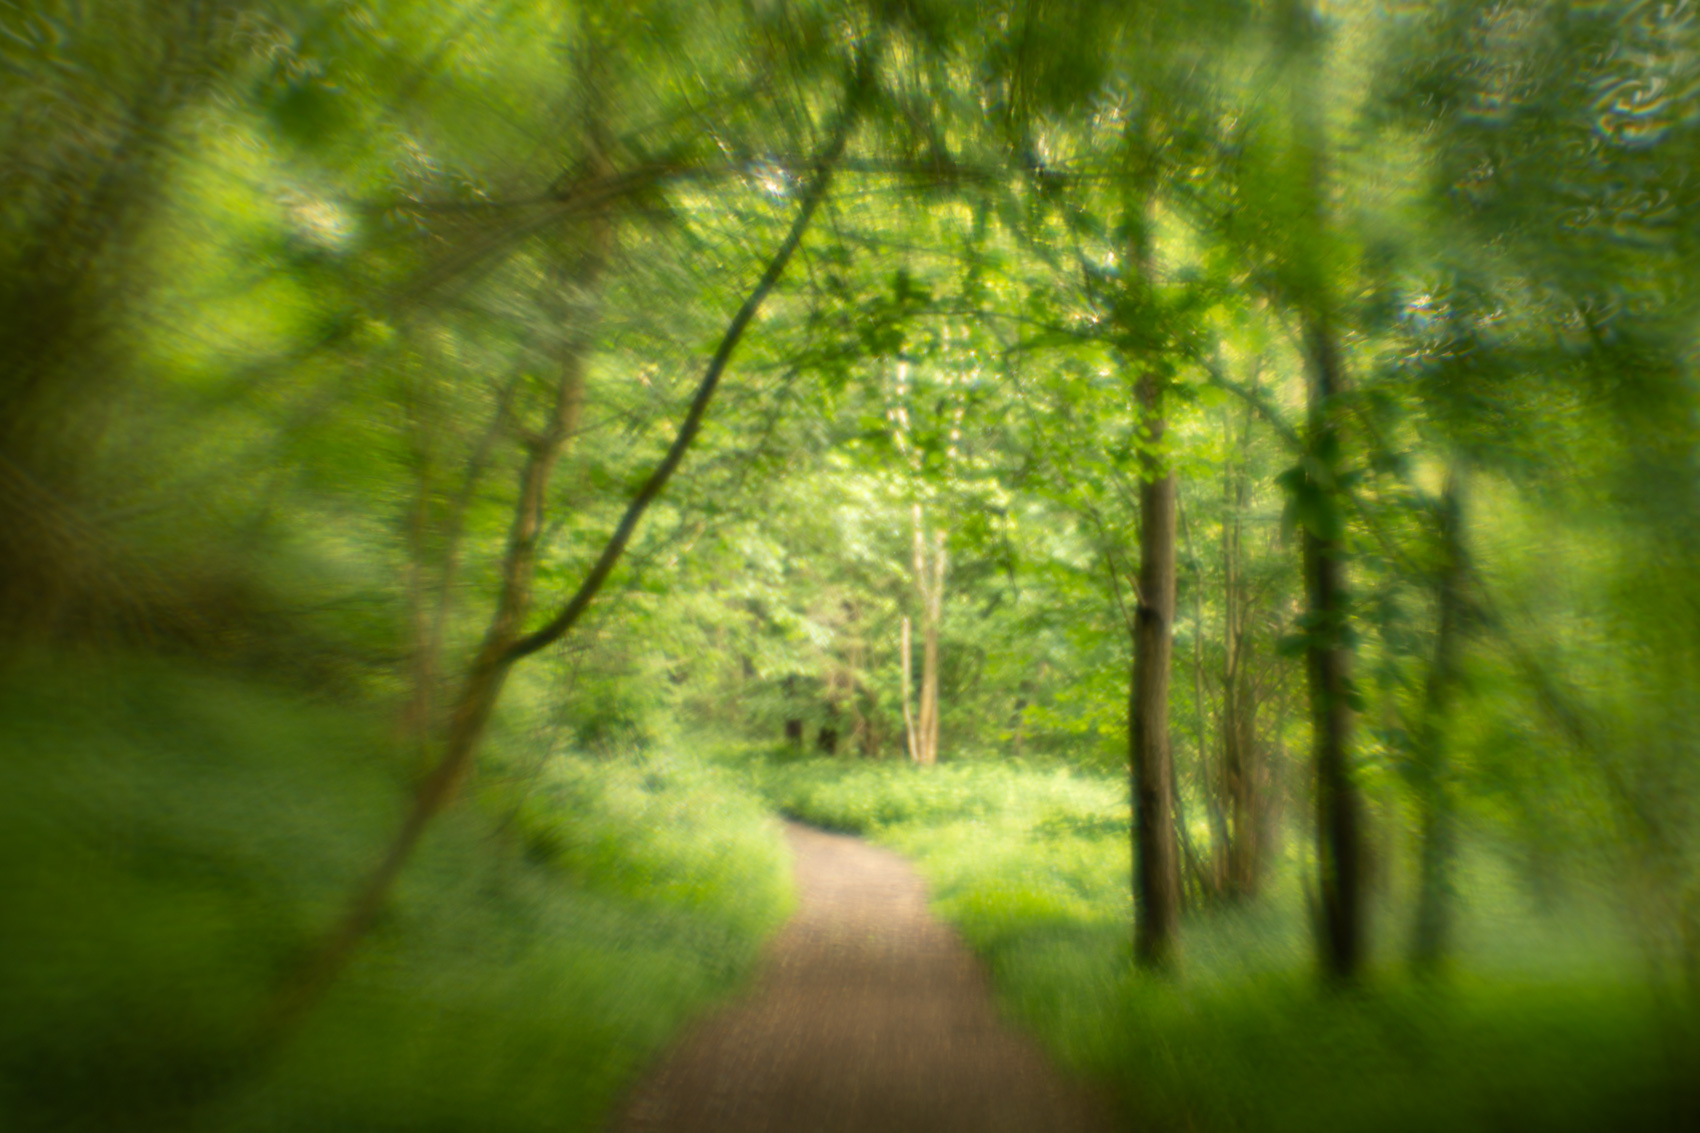
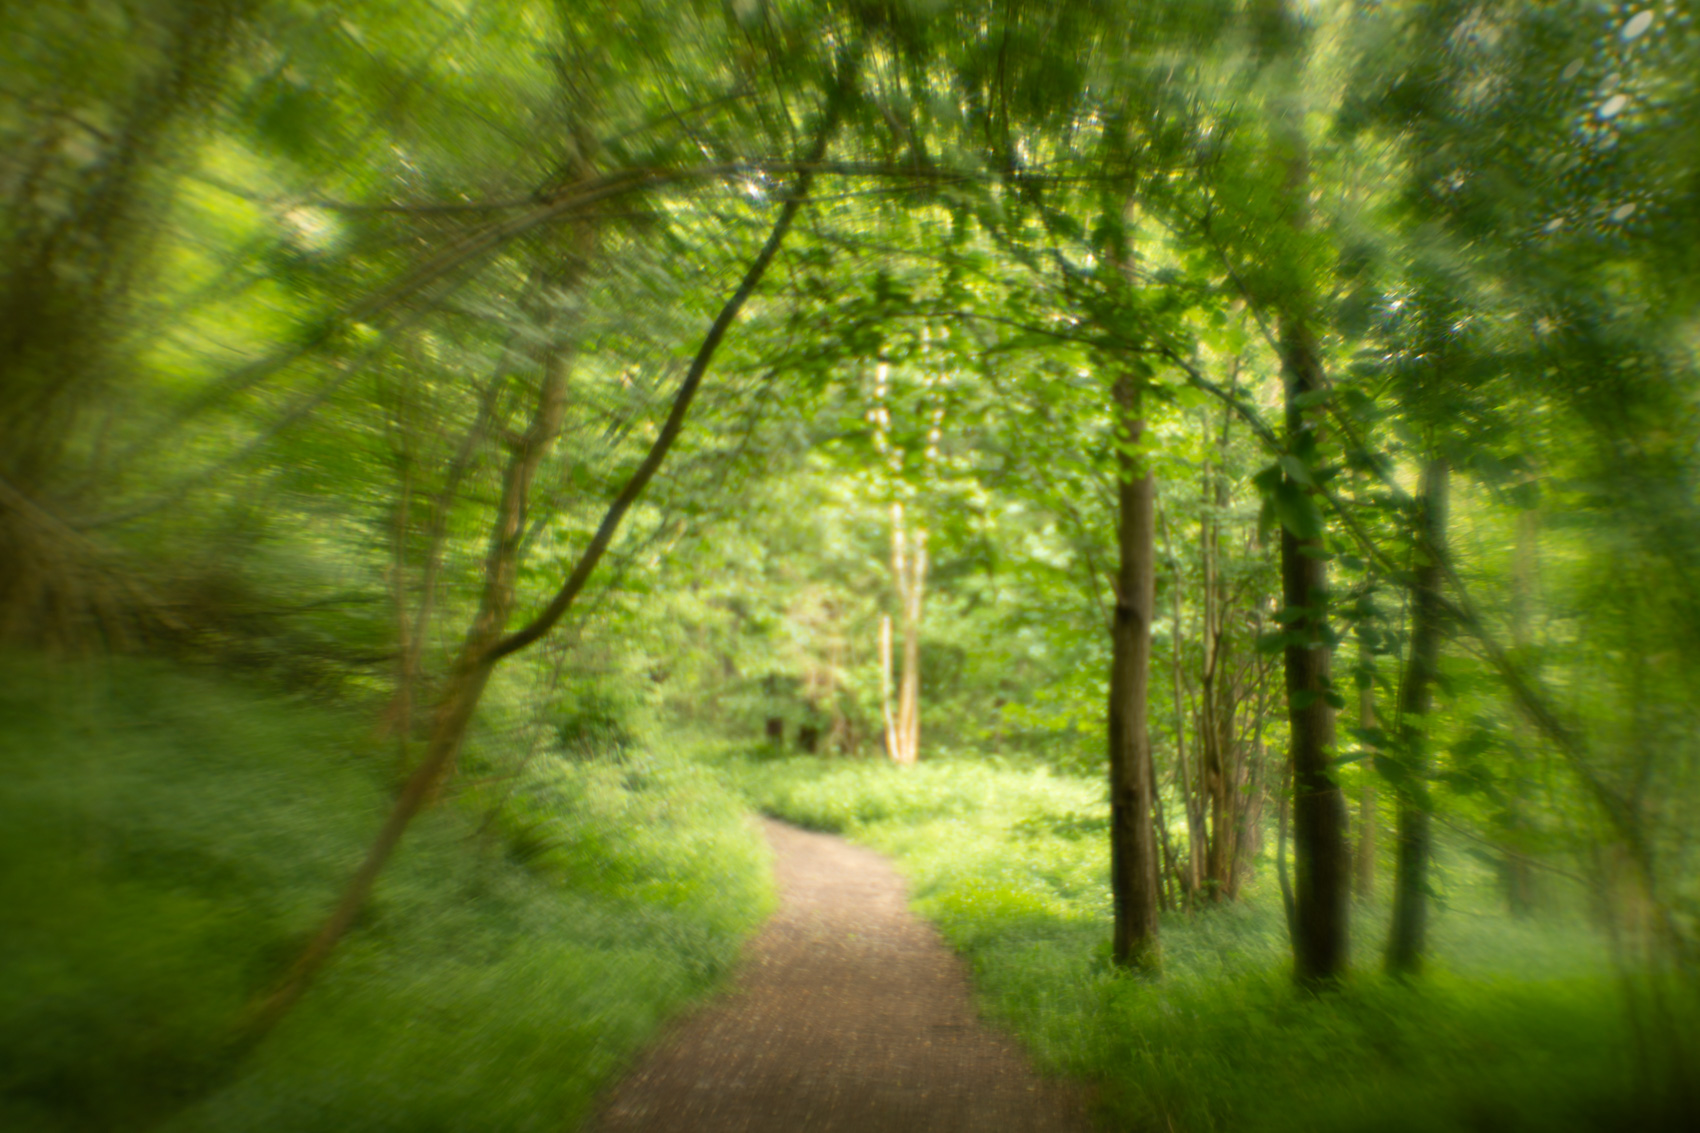
Twist optic
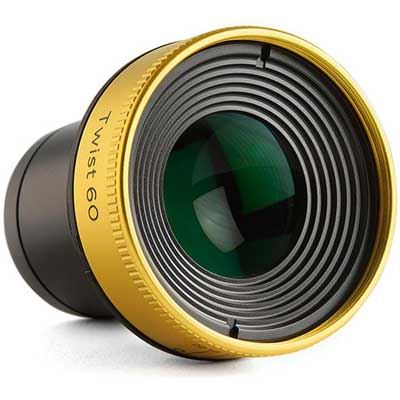
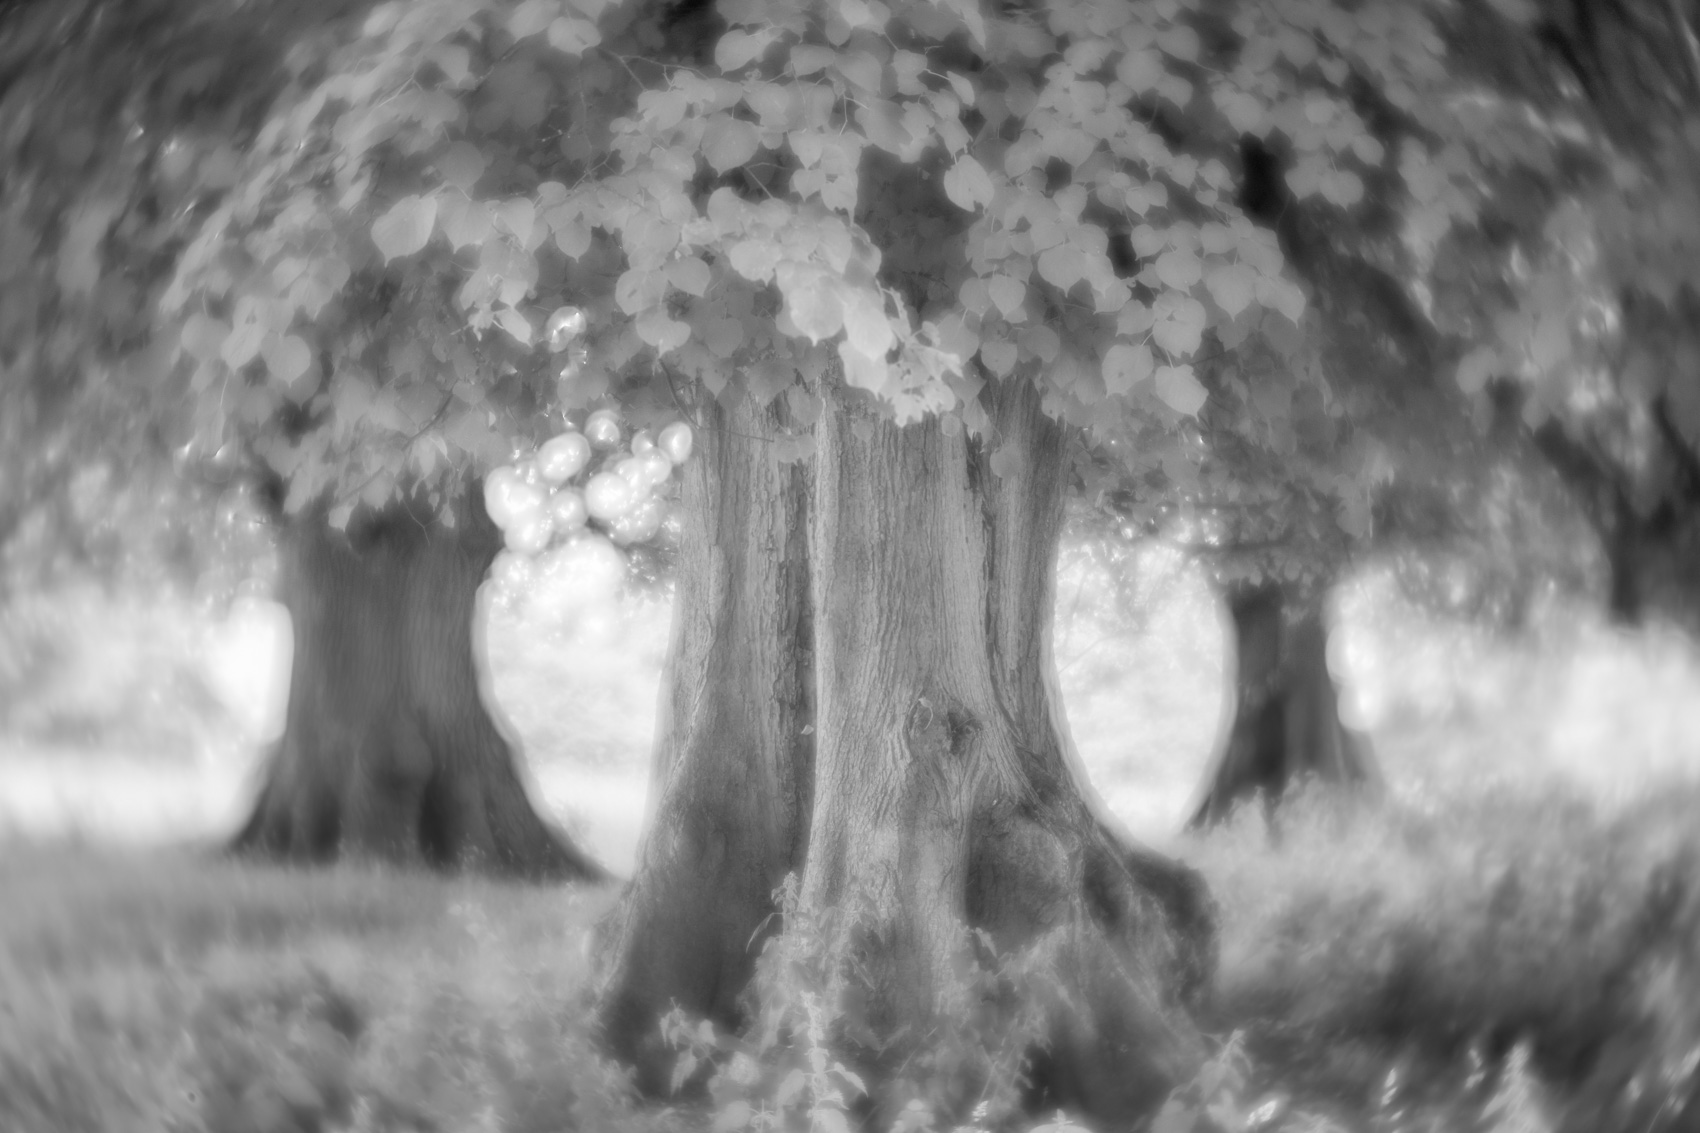
As the word suggests, the Twist creates a pleasing 'twisting' effect within the image. How much twist is determined by the size of the aperture which you control manually by turning the copper bezel. Being a 60mm focal length I particularly like it for woodland photography.
Image examples - Twist optic

Edge optic
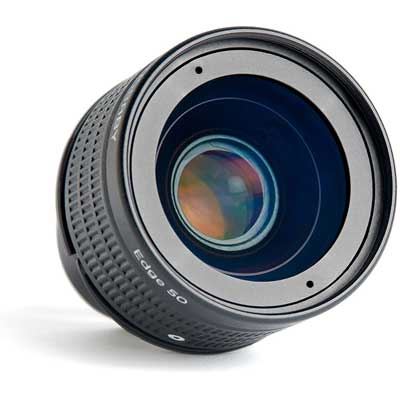
The edge is a fascinating lens as it creates a line of focus within the image allowing you to blur any distracting elements with a pleasing bokeh. It can also create a 'toy town' look to images which can be quite cool. It's available in 35, 50 and 80 mm focal lengths. I don't currently own this lens because I don't have a need for this effect but maybe one day...
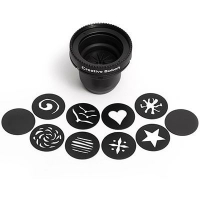
Creative Bokeh optic
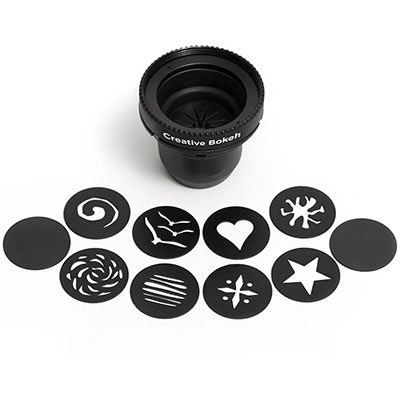
This lens is actually a standard 50mm lens which comes with a selection of interestingly shaped aperture discs (just like the Soft Focus optic), which you slot in front of the lens to create interestingly shaped bokeh. The shapes of aperture discs supplied with this lens are different from those supplied with the Soft Focus II yet both lenses can take any of the aperture discs supplied. Like all the optics, how much of the effect you want is dictated by the size of the aperture which you adjust by turning the barrel at the front of the optic.
Image examples - Creative Bokeh optic
Instead of displaying different images here, I've taken a similar image but using five different aperture discs. Notice the differing shapes of bokeh around the edge of each image.


Double Glass II optic
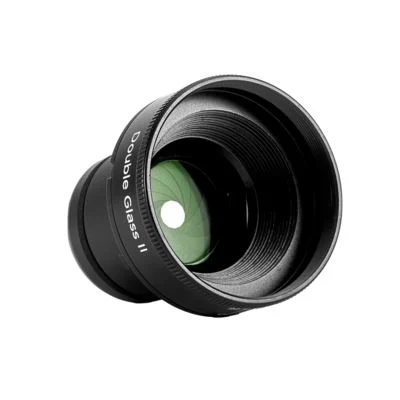
A relatively new optic in the range, the 50mm Double Glass II is a new improved version of the original and now has a built in variable aperture and stronger body compared to the original. Not dissimilar to the Soft Focus II and Creative Bokeh, this optic also comes with a set of creative aperture discs to insert into the front of the lens to create interesting shaped bokeh such as stars and hearts. The lens is designed to deliver a classic, vintage look and feel.
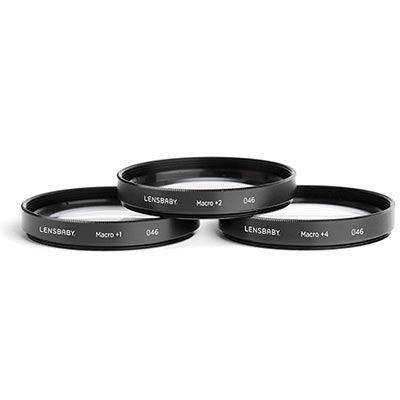
Macro!
Any (or all) the above optics will provide many hours of photographic fun and enjoyment but, other than the stand alone Velvet range, the optics are not designed for macro work... until you purchase the optional macro filter kit. The kit comes with 3 individual strengths which screw onto the front of any of the optics and, better still, you can screw up to all 3 on the front for extra magnification. This relatively inexpensive accessory is a must for those who love macro photography!
Shoot Extraordinary!
I hope this article has helped you understand a little more about Lensbaby lens range. It isn't exhaustive and of course, new and improved products are launched quite regularly by Lensbaby. However, if you have any further questions please