Exaggerating Mist
Here's a quick tip. As early autumn is known for the best time for mist I choose suitable early morning locations to take advantage of it (which usually includes a lone tree or two)! Utilising mist in an image can really lift the emotional connection to an image. It's particularly useful for separating and/or isolating a component (i.e. a tree or building) from its surroundings, which helps simplify an image. There are times though, when you get to a location, that you find that the mist has burnt off or subsided in some way leaving a composition with less mist than you would have preferred. Fear not - there is an answer in post-production!
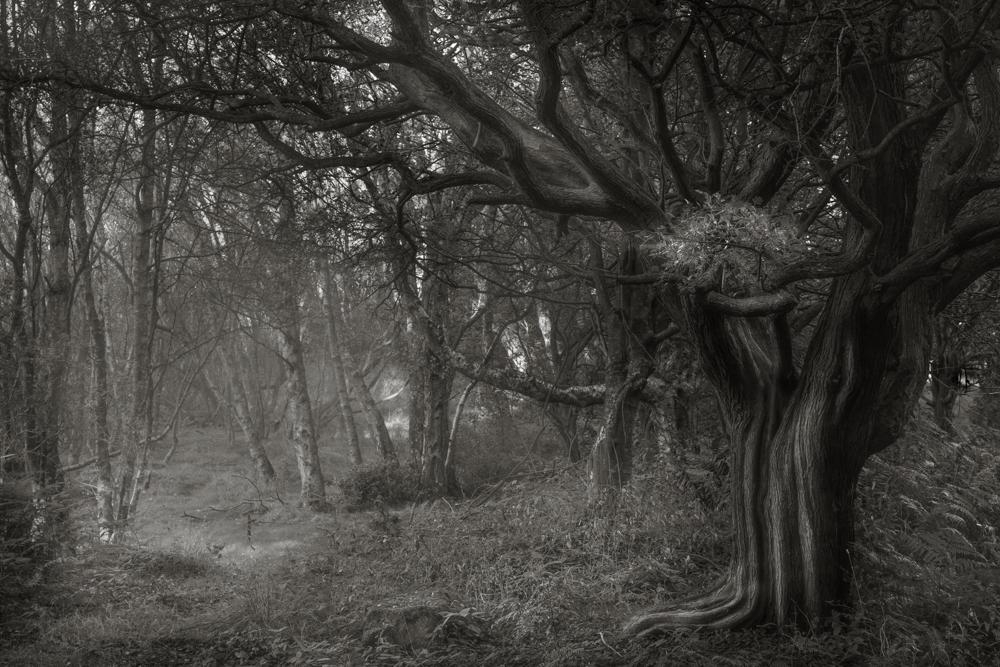
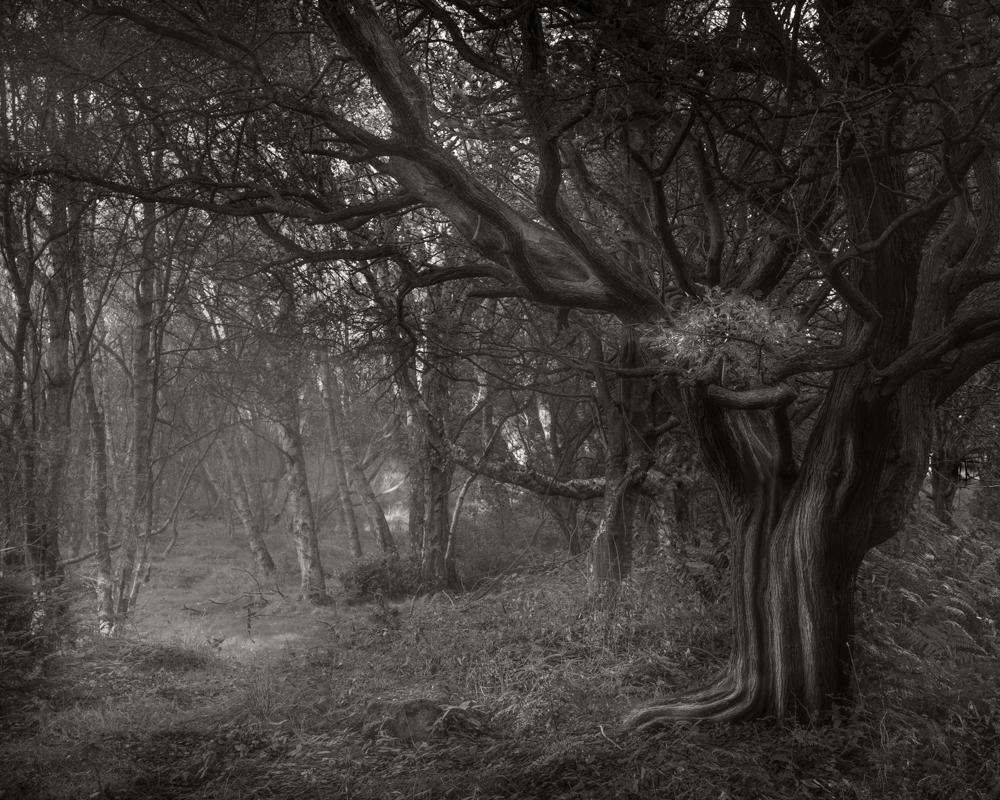
Take this image for instance. It's an image taken in thick woodland and I remember there being a little mist but as you can see, the camera doesn't really portray this.
If you use Lightroom Classic you will notice in the Develop Module a slider named 'Dehaze'.
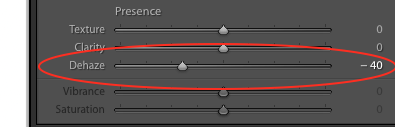
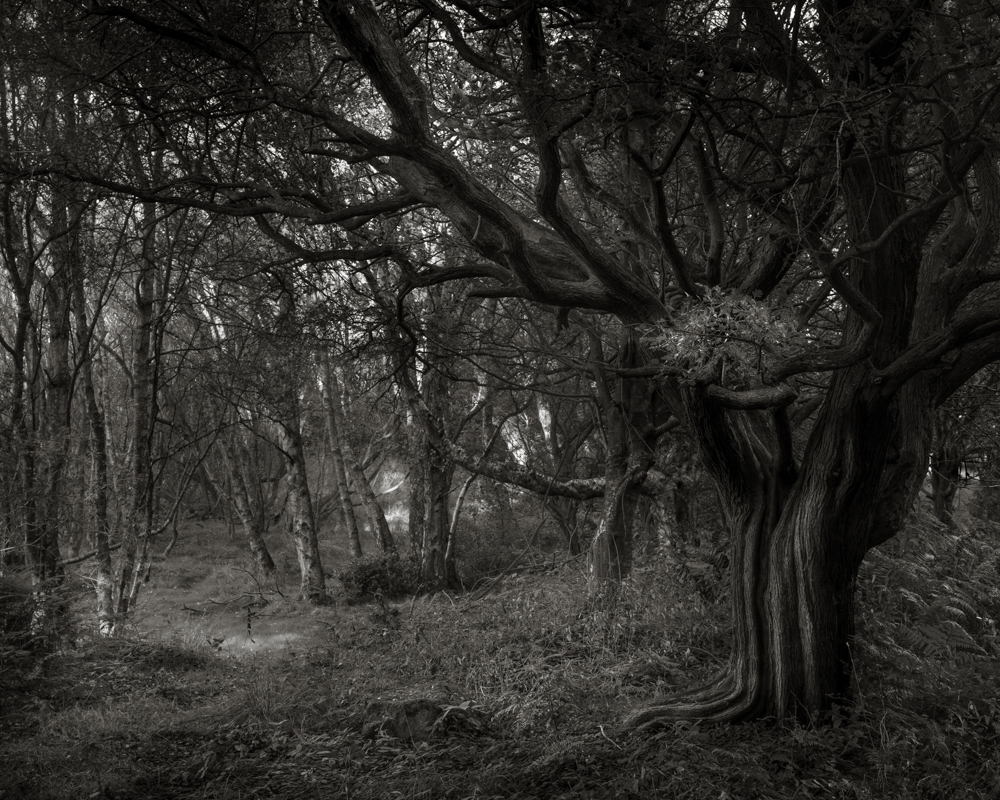
Generally, this is used to cut through mist and haze in order to make an image clearer. However, by moving the slider to the left you will notice that it decreases contrast which crates or emphasises the small amount of mist you might already have in the image, which I've applied in this photo...
You can go even further than this and also create areas with more mist either using the radial filter, graduated filter or brush tool. I also slightly increase the exposure to give more of a feeling of mist. As you can see from the image below, I've created a circle of mist to the left area of trees using the radial filter...
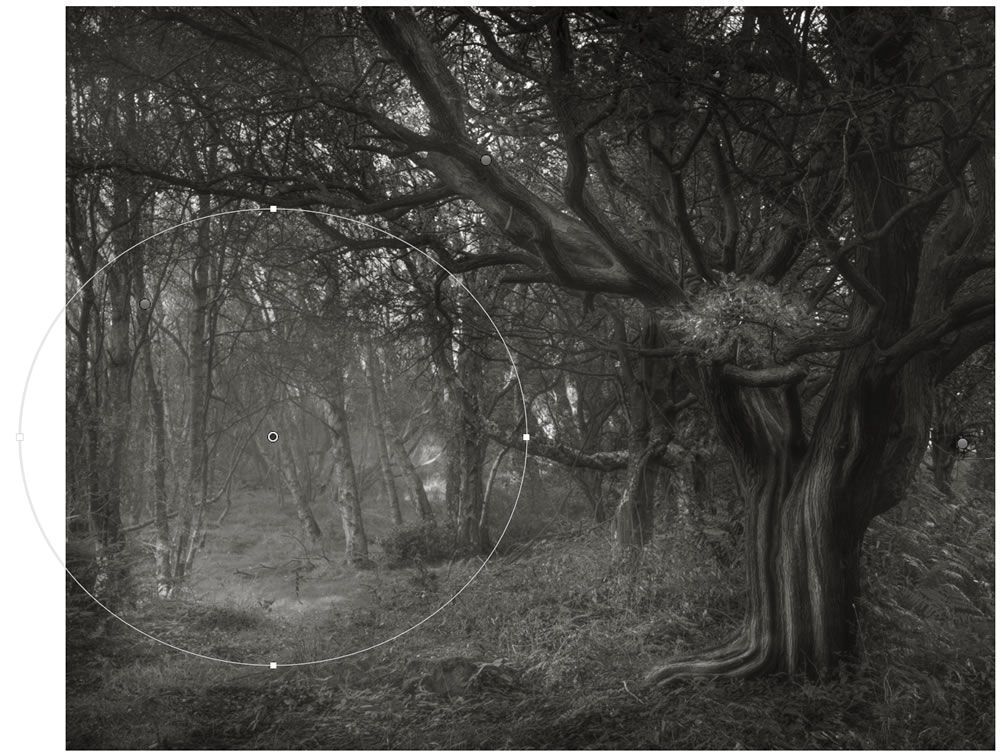
Leaving me with a final image with a little more drama like so...
It's a fun way of adding a sense of drama and mystery back into an image that just needed a little bit of a lift. Try it on one of your own images.