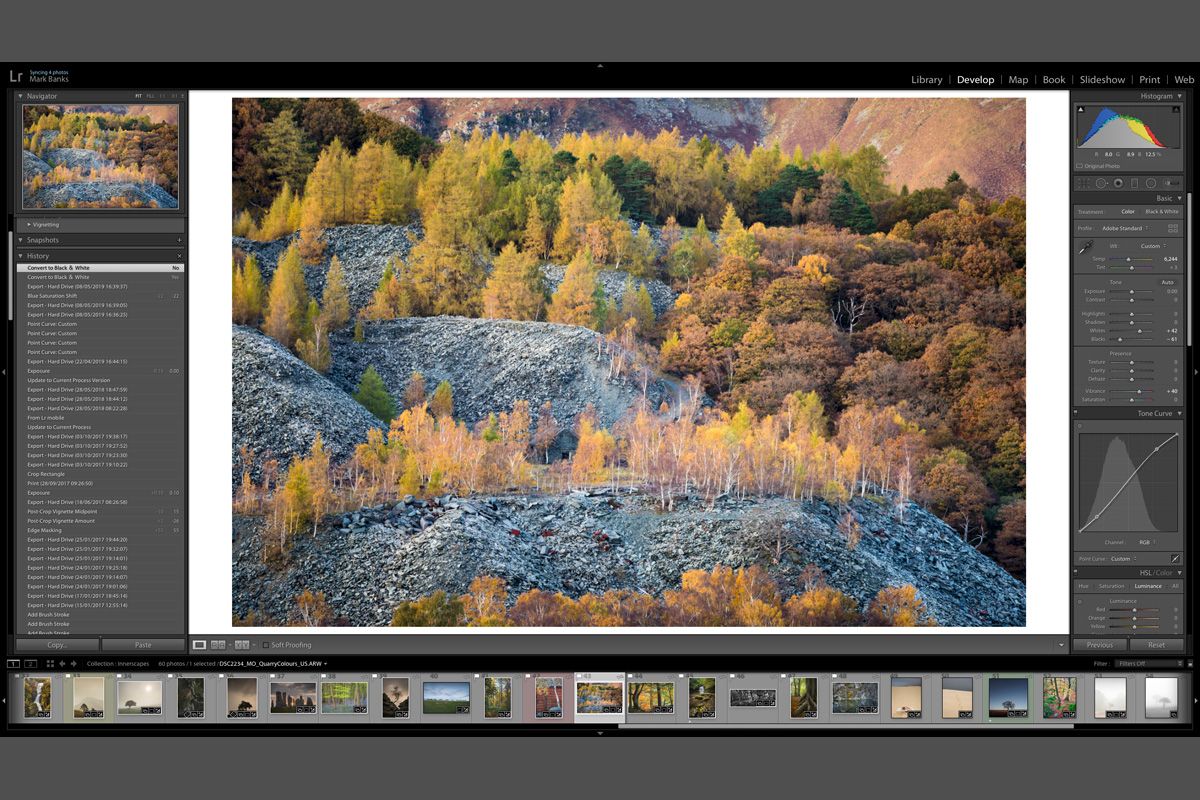
Lightroom Collections: More than just an organiser!
Following on from my last blog regarding Quick Collections, this time I want to expand on Lightroom's Collections panel (not to be confused with a Quick Collection). The Collections panel can be found below the Folders panel on the left-hand side of the Library Module. They are a great way to organise selected images into one area for easy access - but it's much more than just an organiser as I found out a while ago!
For the benefit of those new to Lightroom or who haven't yet dabbled with Collections, I think it's worth explaining a little more about them first. If, like me, you import your images into Lightroom by creating folders in a chronological way (i.e. starting with the year, month, day and then a description) then you will have already noticed how easy it is to find a set of images whenever you want them. However, what about those times you would like to organise selected images into defined groups (for instance Seascapes, Landscapes, Monochrome, Macro etc...)? these images are likely to be in different folders within the Library. This is where Collections come in. Collections are a great way to organise your images in different ways by merely referencing them from whichever folder they are in without creating duplicates - making sorting your images easier and saving valuable hard-drive space, too. It's also worth mentioning that any image can be placed in as many Collections as you wish without needing to duplicate it.
Collections are created by clicking on the '+' symbol found to the right of the words 'Collections' in the left panel of the Library Module. When you do this you will be given a choice of three options - Create Collection, Create Smart Collection and Create Collection Set. For the purposes of this blog, I am going to explain the purposes of a Collection only - In the coming weeks I shall write about the other two and what advantages they offer. By selecting 'Create Collection' a pop-up box appears inviting you to name the Collection. Once you've done that simply click 'Create' and your new Collection will now appear in the Collections panel.
Once a Collection has been created you can add images into it by navigating to any image in any folder and dragging and dropping the thumbnail onto the newly created Collection. Over time you will build up a range of Collections to suit you - whether you're grouping images into categories for a website or to shortlist images for a photo contest - the limits are endless!
I personally use Collections to sort my images into the same categories as seen on my website. This allows me to easily see what categories I may have neglected and need more images for - giving me a purpose and a goal when I next go out with my camera!