Lightroom: Collection Sets
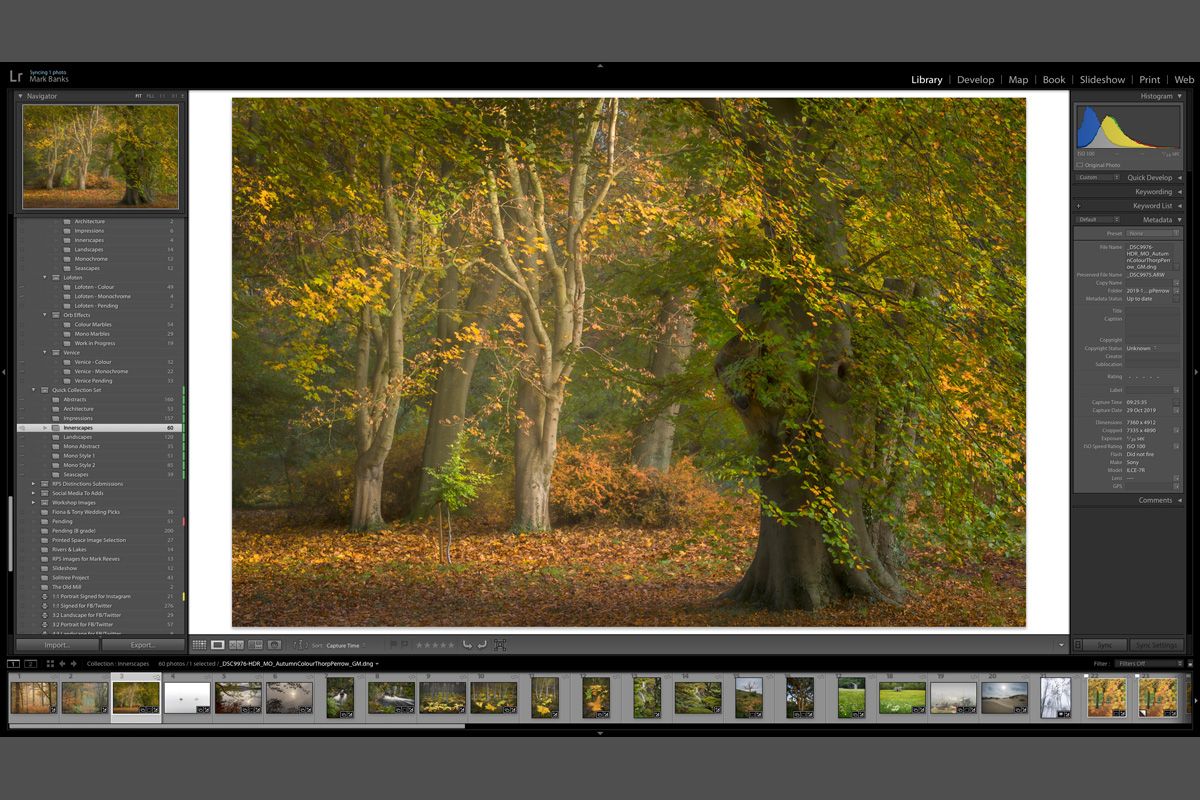
As already discussed in my previous articles, Lightroom Collections are a great way to organise images of a certain genre without them ever leaving their original folder - saving hard drive space and making images even easier to find. However, there may be times when you want to organise these Collections within a main Collection category. This is where Collection Sets come in.
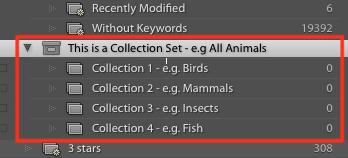
A Collection Set is created the same way as we do a Collection - i.e. by clicking on the '+' symbol to the right of the word Collections in the Collections panel (please refer to my previous article here). When you select 'Collection Set', a pop-up window will display inviting you to name the Collection Set - let's call this set, 'All Animals' for example (see diagram). Now click 'Create'. You have now created a Collection Set.
 A Collection Set, however, does not do anything until you add one or more Collections into it. So let's create a Collection and name it 'Birds' when the pop-up window appears. Underneath this, you will notice a check-box which you should tick. In the drop-down options locate the Collection Set 'All Animals' and click 'Create'. You have now created a new Collection within a Collection Set. You can repeat this as many times as you wish - for instance (as see in my diagram) you might name the next Collections 'Mammals', 'Insects', 'Fish', etc...
Now that you have created your Collection Set and corresponding Collections inside the set, you can now navigate to any of your folders dragging images individually or in groups to each of the Collections appropriately. Subsequently, clicking on any one of the Collections individually will display all your images (Birds for example) from that set. However, the clever part is that you can click on the Collection Set itself (in our example, 'All Animals') and Lightroom will display the images from ALL the Collections within it!
In my next article I will be discussing Smart Collections so stay tuned. :)